Ashes of the Damned is the first Zombies map in Call of Duty: Black Ops 7, and it’s the largest round-based map the series has ever seen. It also features a lengthy main questline to follow with a ton of other easter eggs you can discover along the way.
The Ashes of the Damned main quest revolves around Ol’ Tessie, your trusty truck that gets you around the map. There are a bunch of parts you need to find at every major location in Ashes of the Damned, and this easter egg is a doozy even for the most experienced Zombies players.
How to unlock Pack-a-Punch in Ashes of the Damned
As always, this Zombies easter egg starts with the Pack-a-Punch machine. In a new twist, Pack-a-Punch follows you around Ashes of the Damned on the back of Ol’ Tessie.
Before you can do anything, you need to get Ol’ Tessie up and running. Head into the Server Room at Janus Towers Plaza and melee the round circular grate on the floor to reveal T.E.D.D.’s Head.
Take the head outside and install it on the old pickup truck. That’s Ol’ Tessie. Make sure you treat her right.
On the Road Again
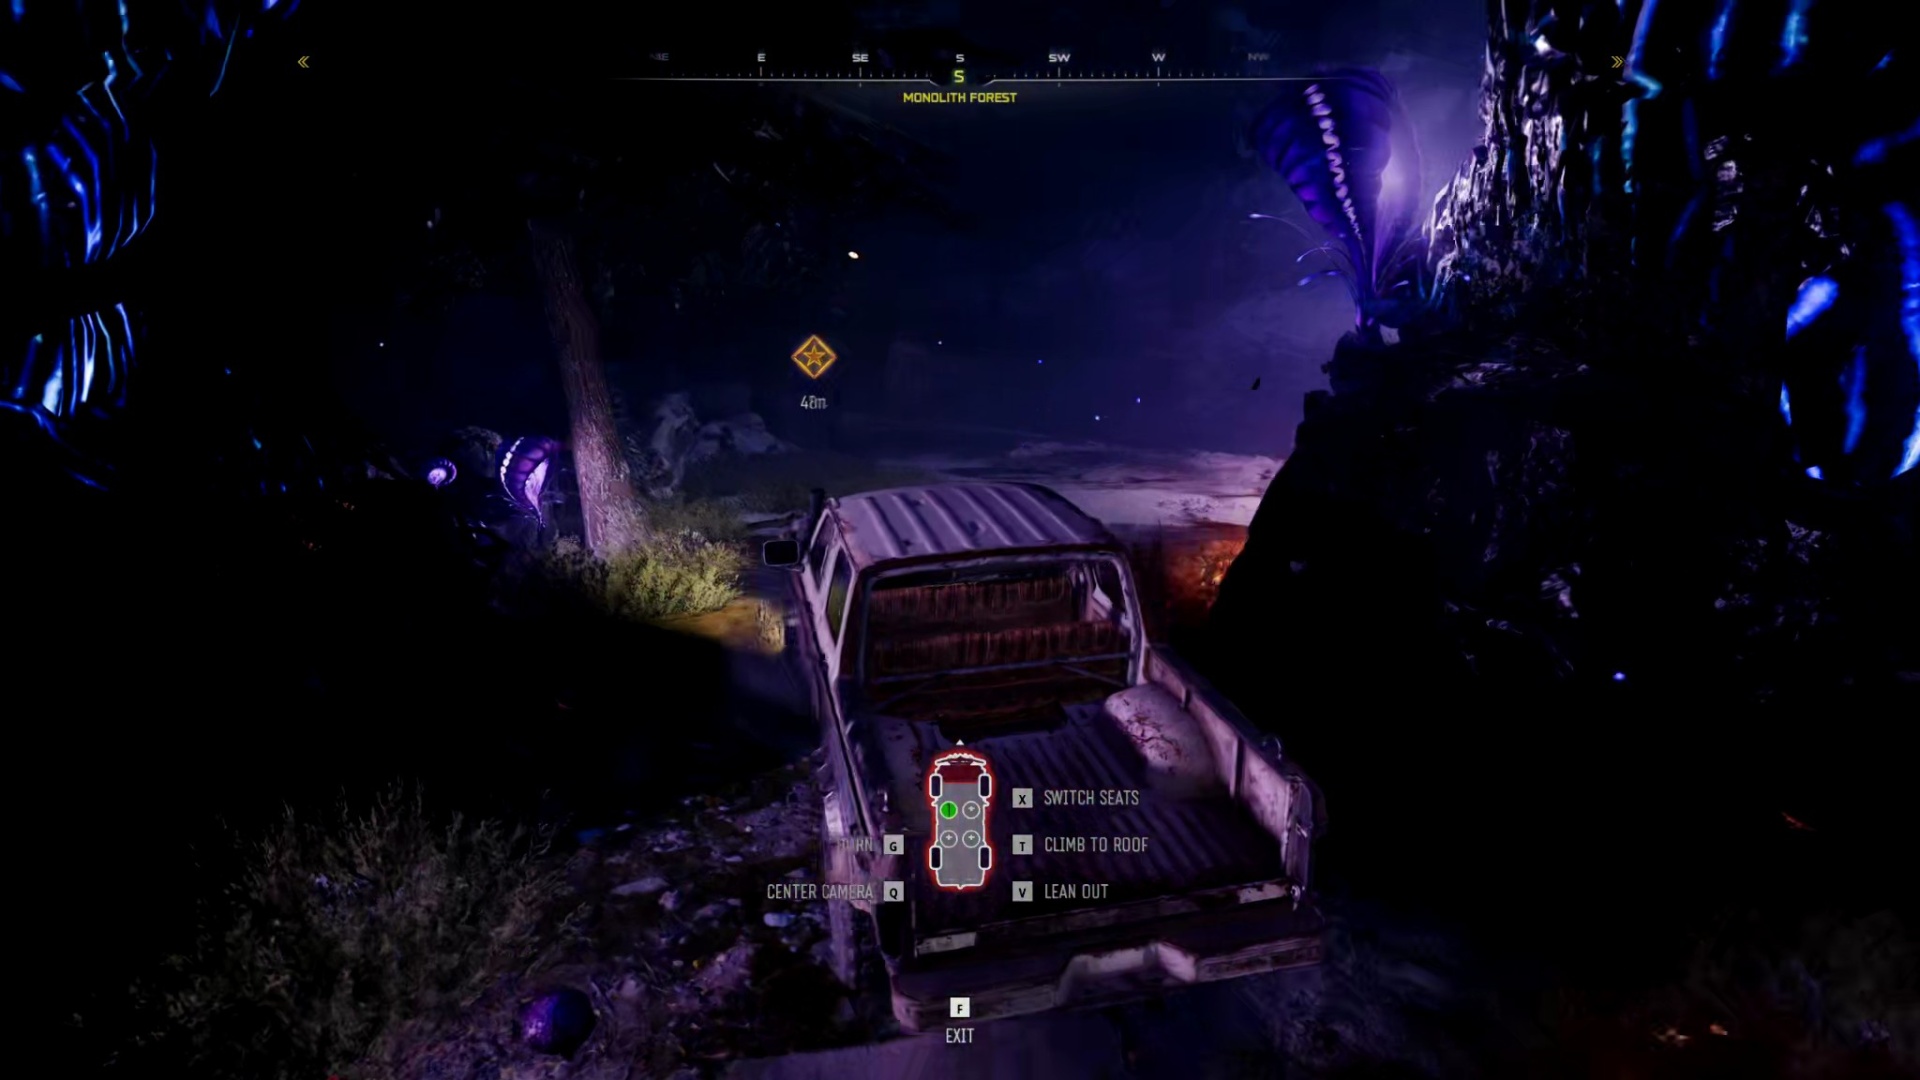
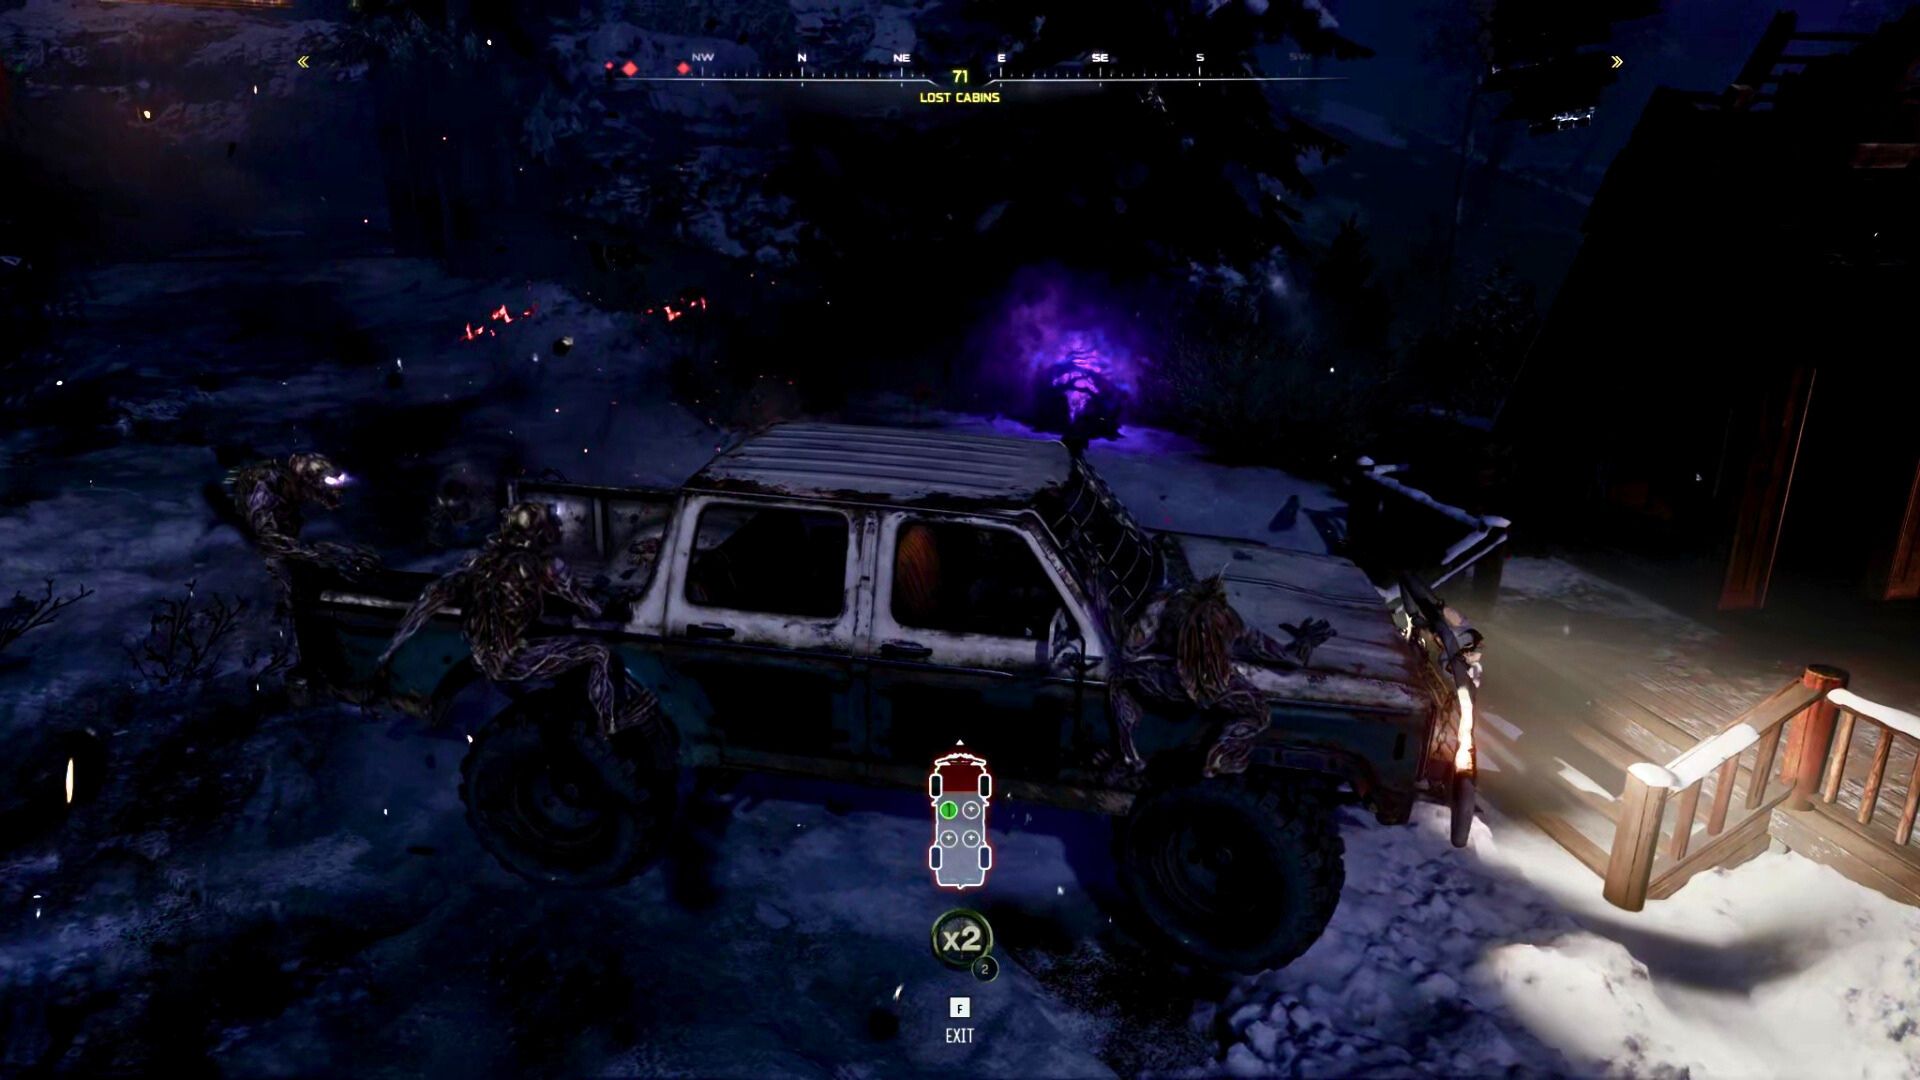
Now that Ol’ Tessie is mobile, hop in and drive southwest to Blackwater Lake. With the truck’s help, you can smash through the wooden barricades blocking the road.
While traveling between every point of interest on Ashes of the Damned, you’ll be hounded by aggressive special zombies that’ll latch onto the truck and attack. The roads are also lined with red explosive pods that’ll deal serious damage to poor Ol’ Tessie.
Getting stranded on foot is a death sentence, so keep a close eye on Ol’ Tessie’s health. You can repair the truck by driving over the green pods along the road. If there are too many zombies on the truck, you can lean out of the window and shoot them off before driving on.
Blackwater Lake

Once you arrive at Blackwater Lake, it’s safe to hop out of the truck and continue on foot. Ol’ Tessie will slowly recover HP while you’re away as well.
Stop me if you’ve heard this one before—you need to get the power back online here. To do so, shoot all the glowing orange pods off the metal Power Pump outside the cabin. Once the infestation is cleared, a final pod will appear on top of the pump. Destroy that and the pump will start working again.
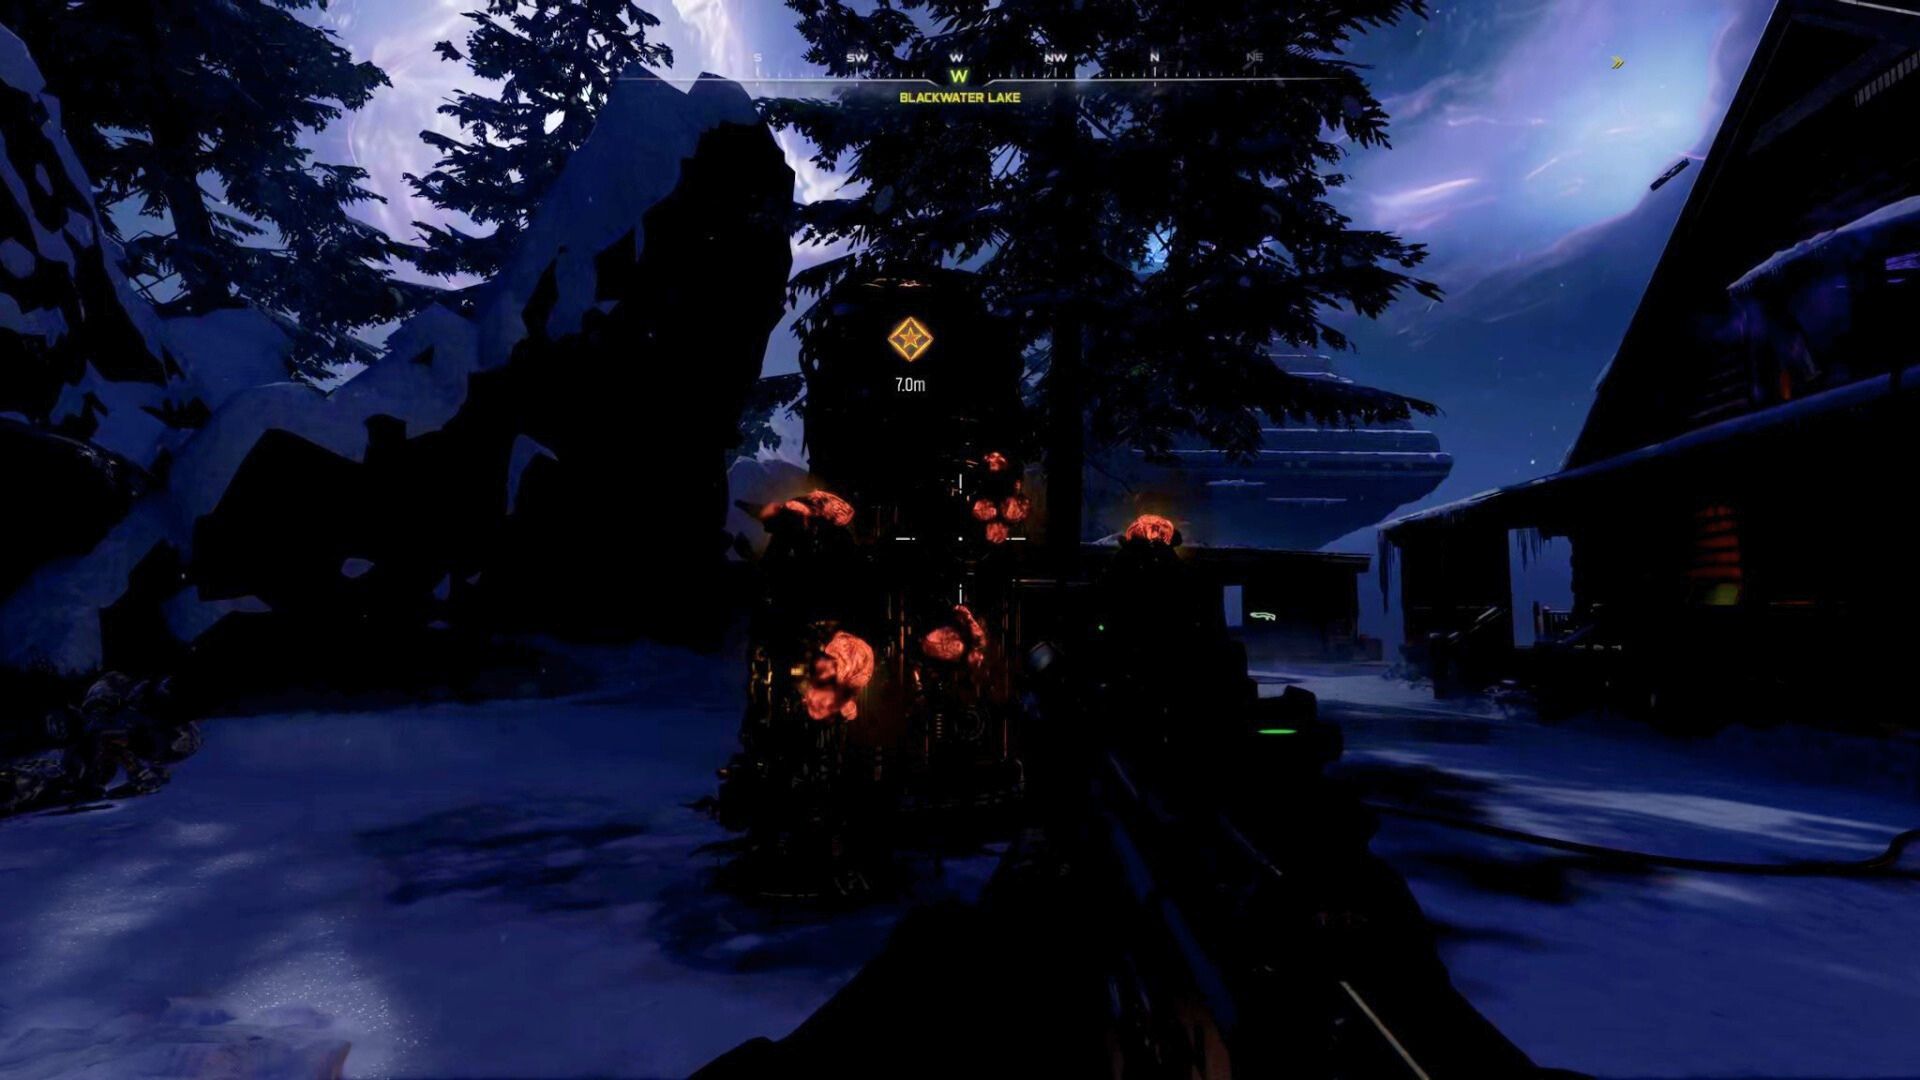
There’s a time limit before the infestation regrows, so focus your fire on the pods and ignore the zombies unless you want to start over again. Don’t be afraid to pick up a new weapon if you require some additional firepower.
Once the pump is back online, you can enter the cabin and flip the power switch on the upper floor. That’ll open the metal gate blocking the road.
Ashwood

Once you’re ready to move on, climb into the truck and drive south to Ashwood.
When you get there, you’ll find a zipline leading to an elevated area. Zip up there and purchase your way through all the doors to reach another Power Pump atop the wooden bridge.

This Power Pump is identical to the last one, so shoot the orange pods to clear the infestation. Once the pump gets pumping again, flip the nearby power switch to bring the lights back on.
With the power restored, a garage will open up on the ground level. Drop back down and park Ol’ Tessie inside. Grab the Pack-a-Punch machine from the workbench, then install it onto the back of Ol’ Tessie.

Now, you can Pack-a-Punch your weapons anywhere on the map. This upgrade also gives Ol’ Tessie a nitro boost that you can activate to slam through zombies or just get to your next destination faster.
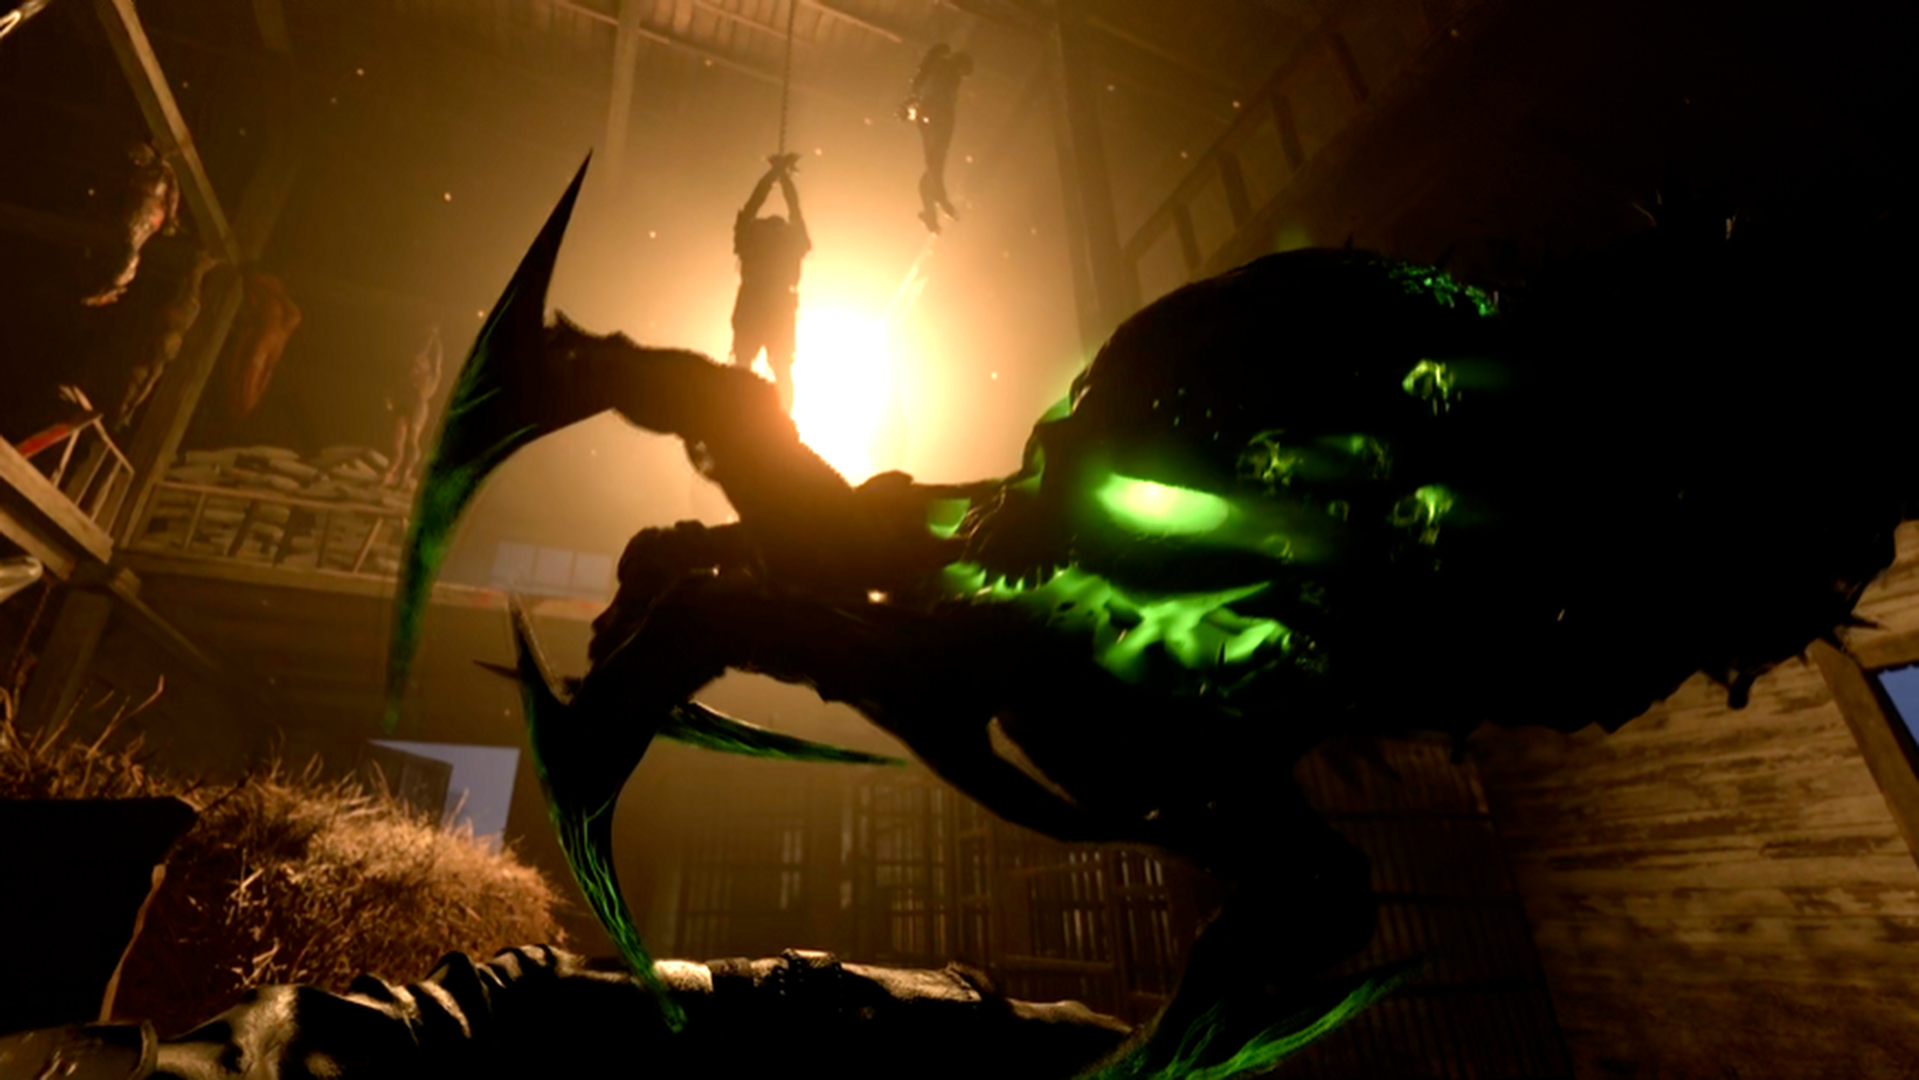
Upgrading Ol’ Tessie with the Abomination Beam
The next part of this easter egg involves upgrading Ol’ Tessie even further. You’ll have to make a few pit stops around the map, but you’ll end up with a sweet new weapon called the Abomination Beam.

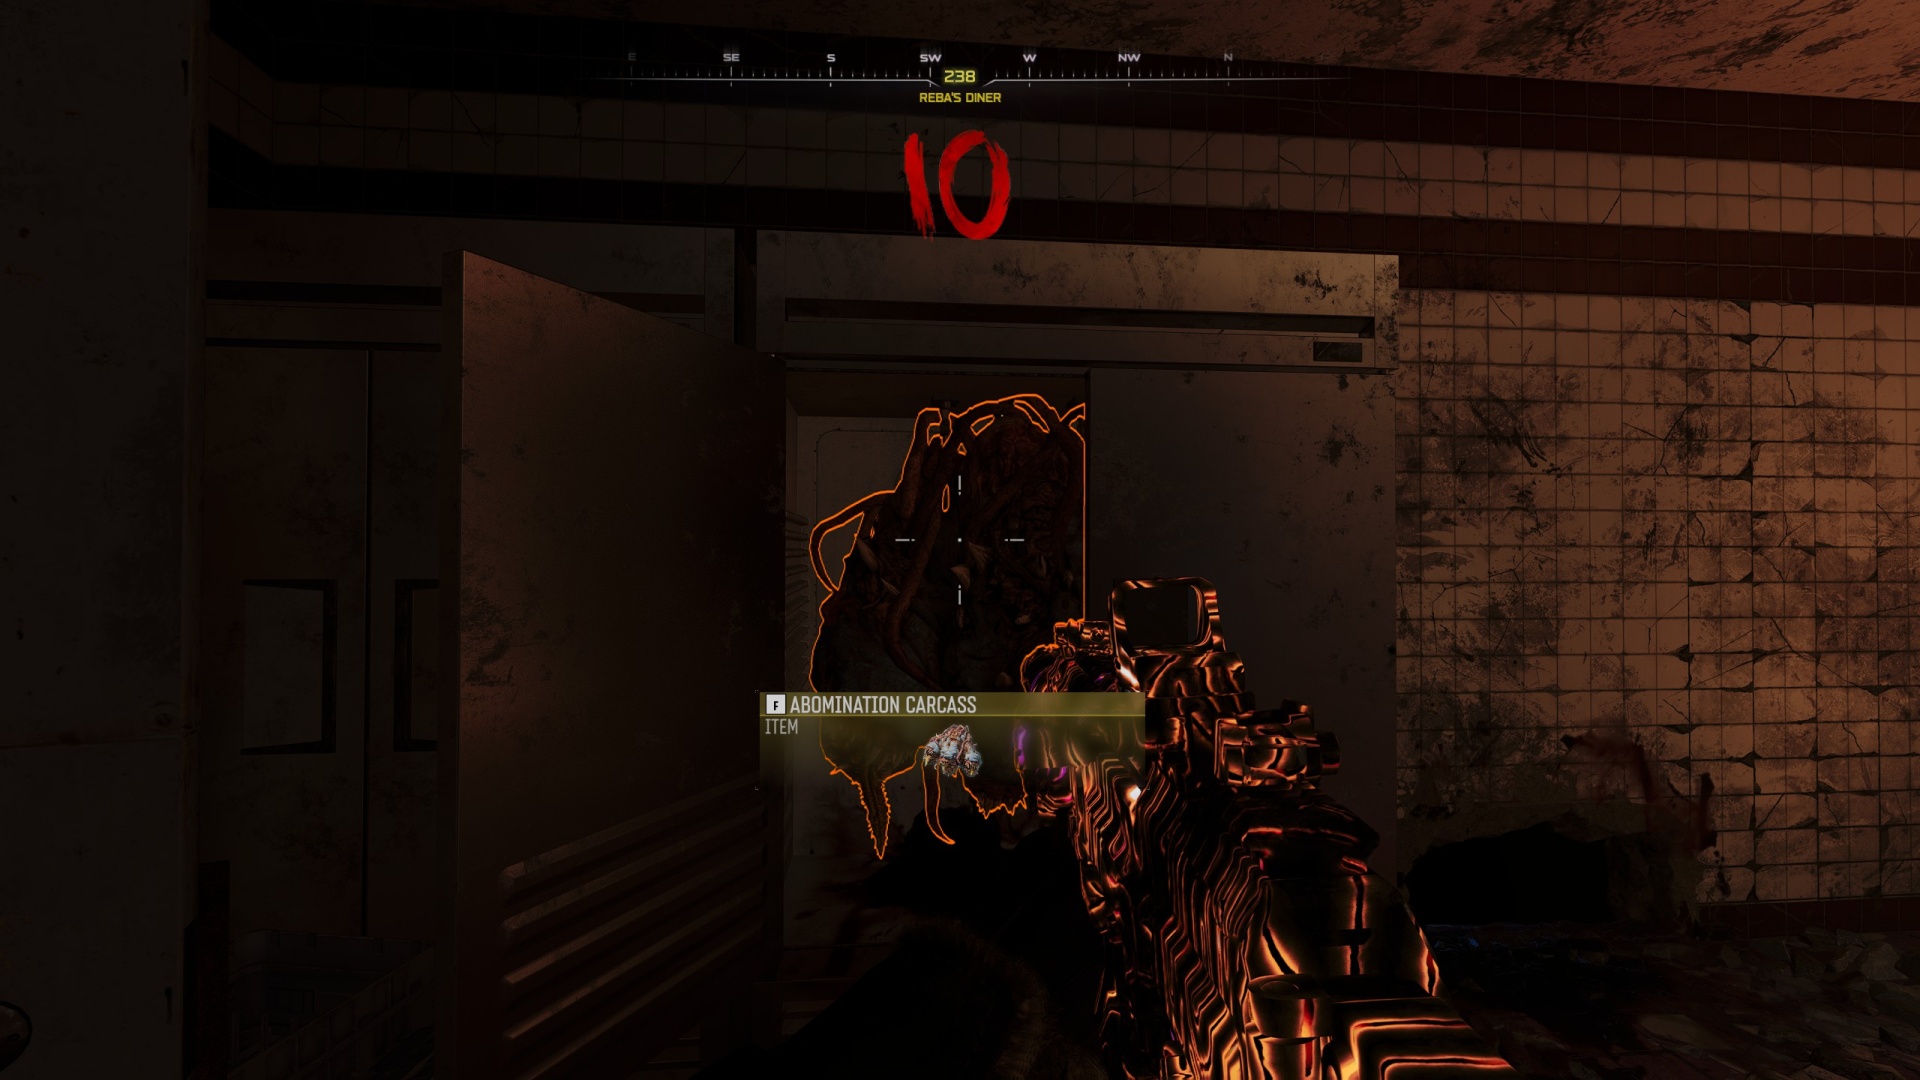
To get it, drive to Exit 115 at the southern tip of the map. There, you’ll find Reba’s Diner. Head inside and kill zombies until one of them drops the Freezer Key. The kills only count inside the diner, so don’t stray too far!
When you finally get the Freezer Key, take it to the kitchen and use it to open the freezer in the southwest corner of the room by the back door. There’s an Abomination Carcass inside.
Grab the Abomination Carcass and drive back to Ashwood where you install the Pack-a-Punch machine onto Ol’ Tessie. Park in the garage and you’ll be able to upgrade her yet again, this time with the Abomination Beam.
How to get the Necrofluid Gauntlet Wonder Weapon
Every Zombies map has a Wonder Weapon to discover, and Ashes of the Damned’s new toy is called the Necrofluid Gauntlet.
Uber Klaus
To get this bad boy, you’re going to have to defeat a miniboss, run some errands across the whole map, and solve a strange symbol puzzle to cap things off. It sounds complicated, but it’s really not that bad once you get a practice run under your belt.

To start, you need to defeat Uber Klaus at Janus Towers Plaza. He’ll only spawn from Round 8 onwards, but you should be just about there by this point in the run. Approach the shipping container in the northwest corner of Janus Towers Plaza and Uber Klaus will jump out and attack.
Like most Zombies minibosses, Uber Klaus is a menace if you’re not prepared. He has both melee and ranged attacks, so keep moving to avoid damage. Target his purple weak spots for easy damage.

When Uber Klaus is defeated, he’ll drop the Stabilizer Chip. Pick it up and drive to Ashwood. There, use the zipline and enter the Market Square area. Go into the jail in the northeast corner to find Klaus sitting inside a cell.
Install the Stabilizer Chip on the keypad by the cell door, then toss three Stun Grenades at Klaus and make sure he actually gets hit by the blast.

If done correctly, Klaus will spring to life and follow whoever threw the grenades. You can control him and direct him to specific locations by pressing your Tactical equipment key.
Aether Barrel

With Klaus in tow, drive to Zarya Cosmodrome and bring him underground to the Support Systems room. Direct him to the control panel on the western wall and he’ll turn it on with an electric shock. You can then interact with the control panel, before defending it against waves of zombies.

As long as you stay in the designated area for long enough, the scan will complete and the glass display case will open up. Take the Aether Barrel for the next step of the easter egg. Also, grab the Wisp Tea perk while you’re here. You’ll be using it in a few minutes.
You’ll need to take the Aether Barrel to each of the power pumps at Blackwater Lake, Ashwood, and Vandorn Farm. Just bring it to the pumps and you’ll see a prompt to insert it. Defend against the waves of incoming zombies to fill up the Aether Barrel. You only have a limited time before the energy decays and you have to start over, so act fast.
Save Vandorn Farm for last. That’s where you’ll bring the filled Aether Barrel. Don’t use Jump Pads to get from place to place, either. They’ll make you drop the barrel..
Cube symbols puzzle
Once you’ve visited all three pumps, head into the barn cellar at Vandorn Farm. There’s a strange cube in the middle of the cellar. Interact with it and it’ll start to glow with strange symbols on each side.

Head back outside and use the Jump Pad to launch yourself toward Janus Towers Plaza. If you look down during your ascension, you’ll notice some glowing red symbols on the rooftops of Vandorn Farm. Memorize these or write them down. Jump back to Vandorn Farm and go back downstairs to the cube once you’ve learned the three rooftop symbols.

Back at the cube, swap the symbols inside each of the green circles to match the symbols you saw on the rooftops. After picking the right symbols, interact with the front of the cube to finally get the Necrofluid Gauntlet.

The game immediately gives you a chance to test it out with a little trial. Zombies will rush the basement and green orbs will appear around the room. Use the Necrofluid Gauntlet to destroy each of the orbs, then escape the cellar and return to Ol’ Tessie.
Gathering the serum ingredients
Now that you finally have the Wonder Weapon, it’s time to start gathering ingredients to make the special serum needed for the easter egg. There are six things you need to retrieve in total.
- Powder of the Forgotten
- Widow’s Lantern
- Human Bones
- Ravager Eyes
- Hoard Husk Chunks
- Mysterious Limb
Powder of the Forgotten
The first item you need is the Powder of the Forgotten. You need the Wisp Tea perk from Zarya Cosmodrome for this step, so drive over there and buy it if you didn’t earlier.
Now, head over to Ashwood and enter the Tailor Shop east of the power pump. Inside, you’ll find a spooky mirror with the words “her lullaby woke the dead” painted on the wall next to it. How quaint.
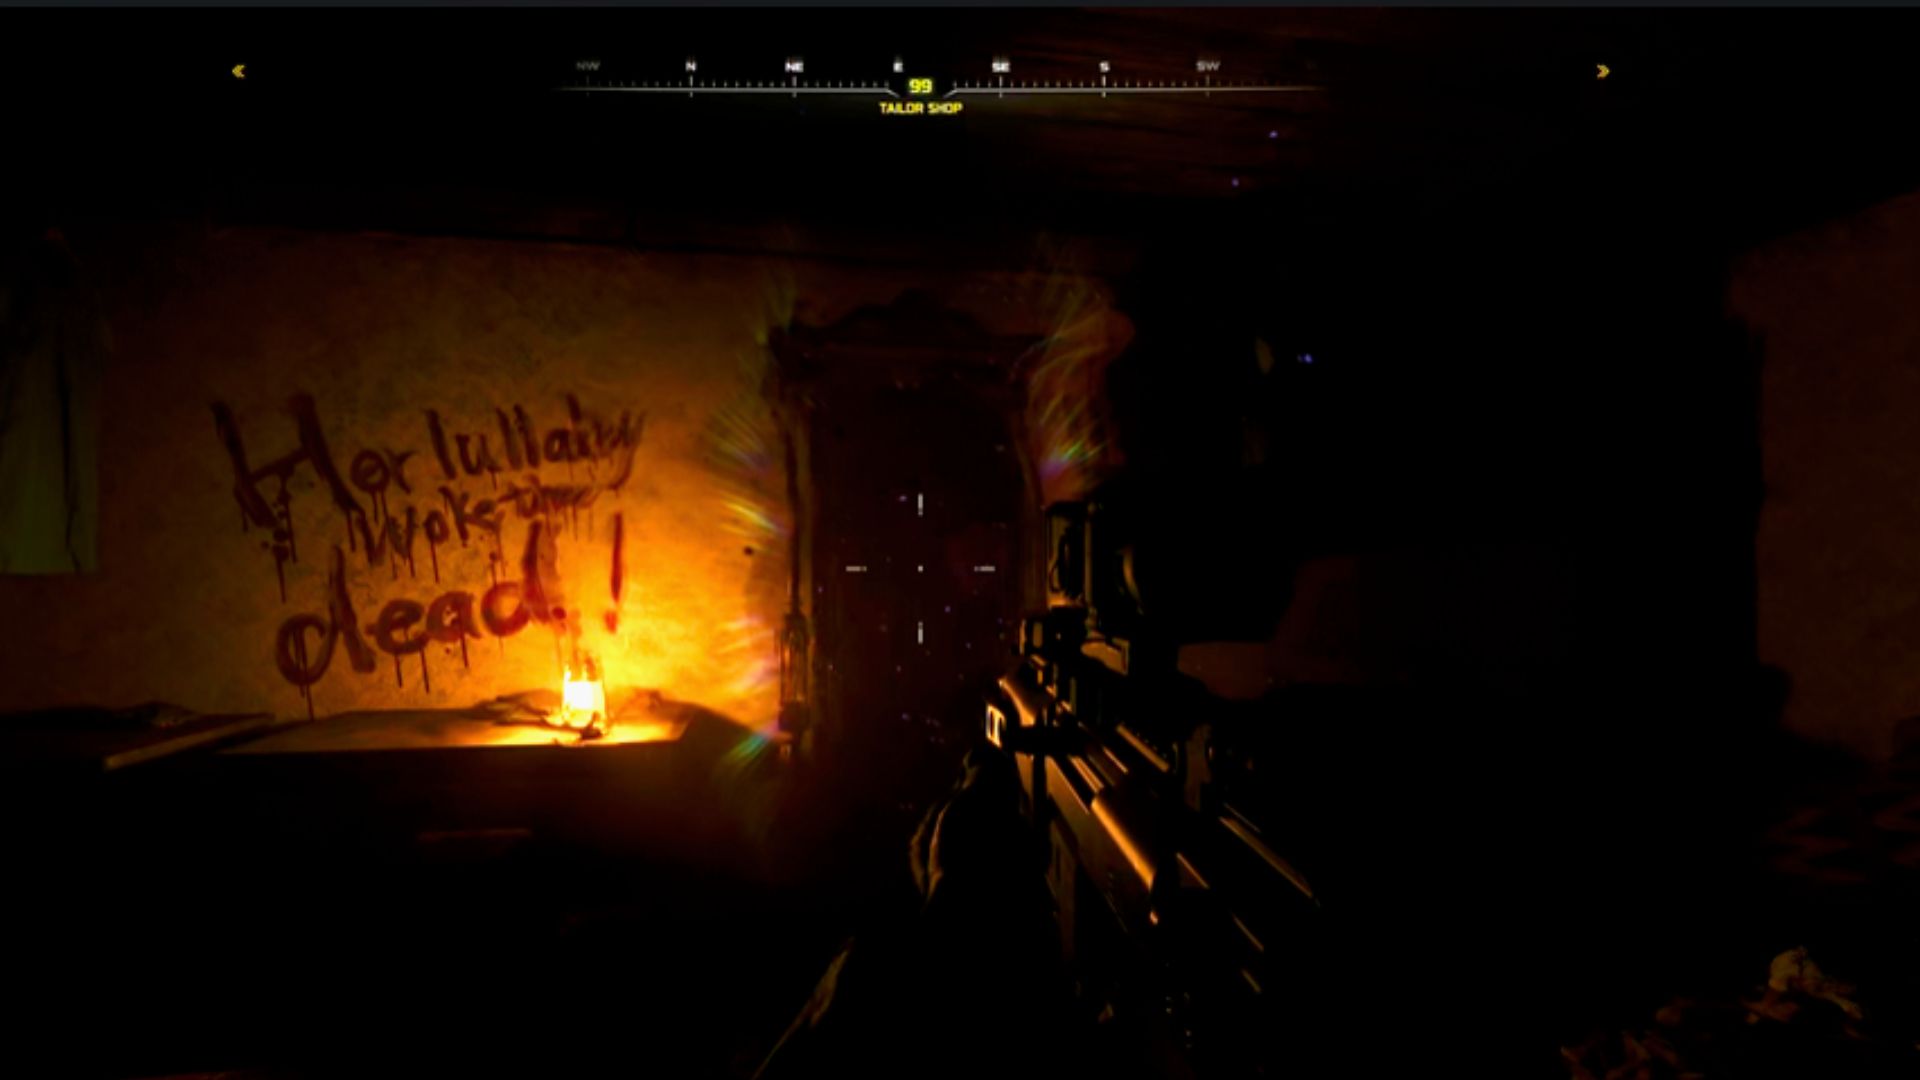
Odd interior design decisions aside, you need to shoot zombies to activate Wisp Tea. The Wisp will then enter the mirror and reveal a weird cube on the other side. Shoot it with the Necrofluid Gauntlet to get the Powder of the Forgotten.
Widow’s Lantern
Next up is the Widow’s Lantern. Before you can get it, you need to swing by Blackwater Lake and pick up a special item called the Jar of Spores, located by the kitchen sink.

Once you have the Jar of Spores, drive over to Vandorn Farm where you’ll find a horse carcass on the main road before entering the property. Use the Jar of Spores on the horse and come back in three rounds to collect the Widow’s Lantern.

Since this step takes three rounds, you can work on other parts of the easter egg in the meantime. On subsequent runs, you can also pick up the Jar of Spores and kickstart the Widow’s Lantern growth earlier in the session to save time.
Human Bones
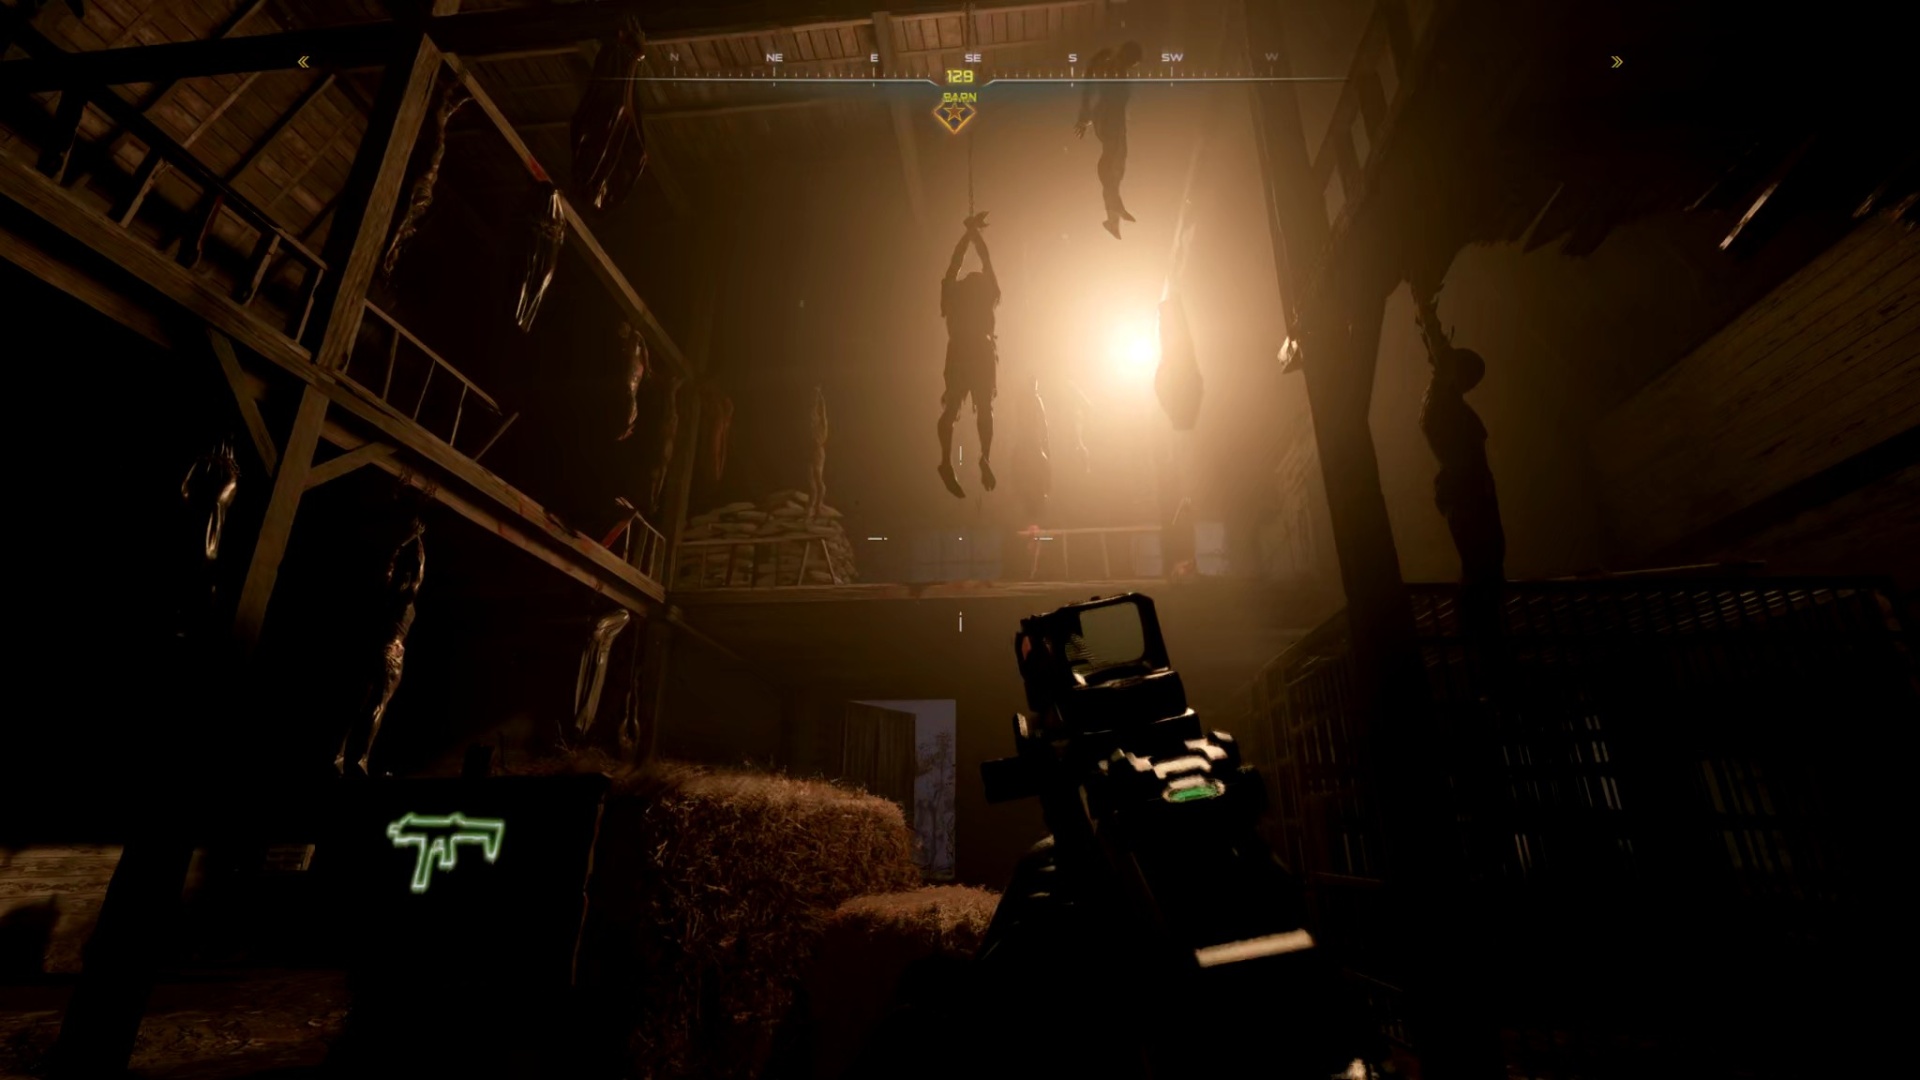
The Serum also requires a set of Human Bones, which you can find without leaving Vandorn Farm.
Head inside the barn and check the bodies hanging from the ceiling. One of the zombies suspended in the middle of the room is dripping blood from its leg. Throw a Combat Axe at the leg to sever its foot, then burn the fallen foot with a Molotov to get the Human Bones.
Ravager Eyes
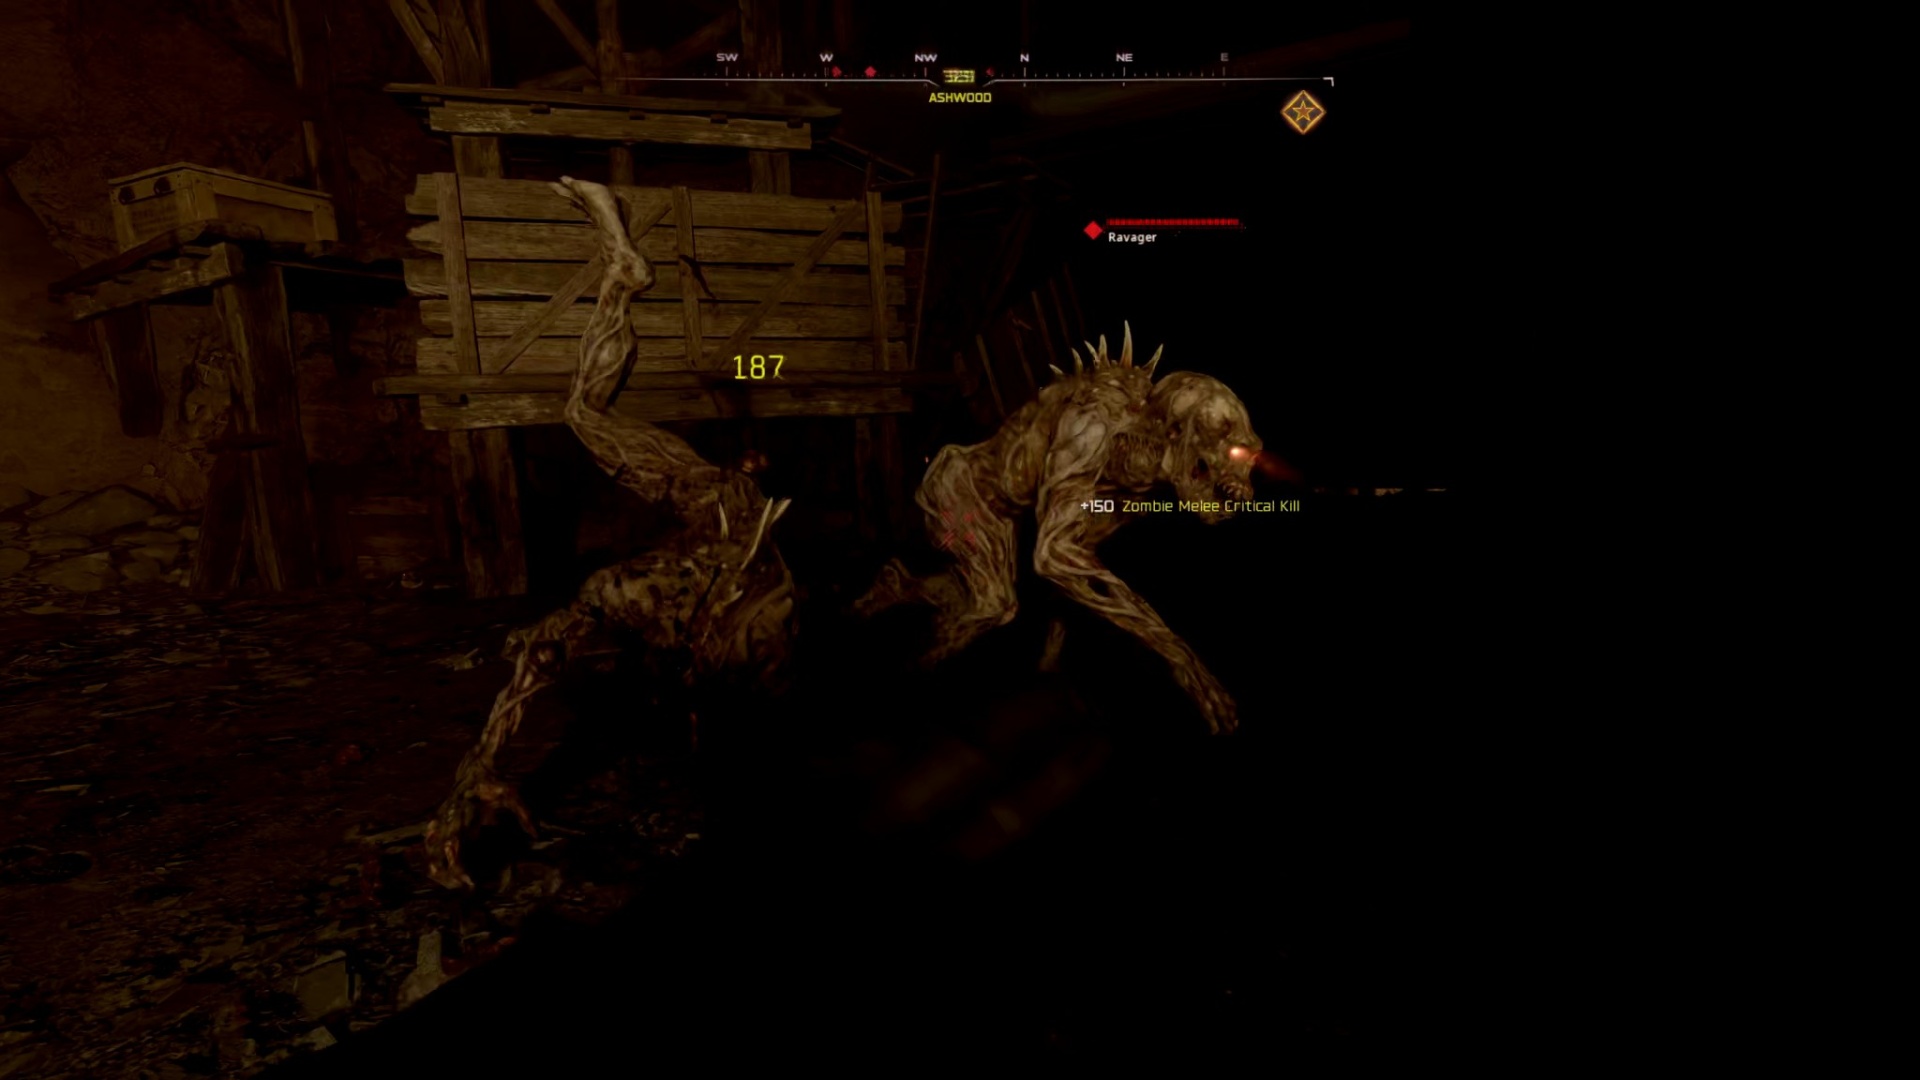
You can also stay in Vandorn Farm for the next Serum ingredient: Ravager Eyes.
To get this item, wait for a Ravager to spawn. These are the special enemies that appear every five rounds. When they show up, activate a Saw Trap and lure a Ravager close enough to it. It’ll get chopped to bits, leaving you with a pair of Ravager Eyes as a keepsake.
Hoard Husk Chunks
The next item on your apocalyptic shopping list is a set of Hoard Husk Chunks. You’ll need Ol’ Tessie’s help to get this part.
Take Ol’ Tessie out onto any of the roads between the points of interest. Keep an eye on the side of the road for big glowing purple pods. Use the Abomination Beam to destroy them and find the Hoard Husk Chunks.
Mysterious Limb

The final piece of the puzzle is the Mysterious Limb, which you can only obtain after reaching Round 16. That’s because you need to kill a Zursa, a massive infected bear that only appears from then on.
Thankfully, it’s pretty easy to get the Mysterious Limb. Once a Zursa spawns, kill it with Ol’ Tessie’s Abomination Beam. As long as the beam lands the killing blow, the bear will drop a Mysterious Limb.
Making the Serum
Once you have all six ingredients, it’s time to combine them into a special Serum. Drive over to Zarya Cosmodrome and enter Yuri’s Lab in the southwestern corner of the area.
All of the Serum ingredients are already laid out for you on the table in the back corner of Yuri’s Lab. Interact with the Powder of the Forgotten and a cloud of smoke will fill the air, revealing a strange cipher on the chalkboard behind the table.

This part is tricky since the solution is different for everyone. Basically, you need to interact with three ingredients in a specific order. The cipher tells you the correct items. To save you the hassle, I’ve translated the names of every ingredient in the table below.
Interact with the three listed ingredients from top to bottom. If you choose the right ones, you’ll see a prompt to add blood to the flask on the table. Whoever adds blood to the flask will have their HP permanently reduced to 75 for the remainder of the session, which can’t be reversed.
After blood is added, you’ll be locked in the lab while waves of zombies attack. After about two minutes, you’ll finally be free to go.
Finding the keys
Brewing the Serum results in some changes at each major point of interest, so it’s time for another roadtrip. You need to track down three keys to unlock a box in Ashwood:
- Terrapin Key
- Bruin Key
- Nightbird Key
Each of these keys is located on the roads between locations, and you’ll need to use the Necrofluid Gauntlet to grab them from afar. When you get a key, you’ll have to bring it to the locked box in Rabbit Alley on the western side of Ashwood.
Terrapin Key
The Terrapin Key is located on the Grounded Ship between Ashwood and Vandorn Farm. This key glows bright green.

There are three different spawn locations for the green key. You can find it in a blue shipping container on the deck, in the bottom part of the ship by a well-lit staircase, or inside a zombie-spawning window on the southern side of the deck.
Collecting the Terrapin Key will prevent you from sprinting, so use Ol’ Tessie to safely make it back to Ashwood.
Bruin Key
You can find the Bruin Key on the road between Ashwood and Zarya Cosmodrome. It’s bright yellow, making it easy to spot in the fog.

This key can spawn in three distinct locations. You’ll either find it inside the fallen radio tower above the road, on the edge of a Zarya Cosmodrome building with a spinning radar dish, or on the cliff by the Ashwood gate.
When you grab the Bruin Key, you’ll be forced to switch to your melee weapon. You won’t be able to use your guns, and you’ll have to run all the way to Ashwood on foot.
Nightbird Key
The Nightbird Key is located on the road between Ashwood and Exit 115. It glows bright red.

This key also has three possible spawn locations. You’ll find it in the mouth of the T-Rex skull on the western wall, inside the southern T-Rex skull on the ground, or by the Project Janus trucks near Exit 115.
Picking up the Nightbird Key will completely disable health regeneration, so get into Ol’ Tessie as fast as possible and floor it all the way back to Ashwood.
DG-2 Turret Barrel
With all three keys, you’ll unlock the box in Ashwood and kick off the mid-game cutscene. You’re getting closer to the final boss! There’s still a lot of work left to do, though.
You’ll be rewarded with the DG-2 Turret Barrel at this stage. It’s a key upgrade for Ol’ Tessie that you’ll need to finish the main quest. Install it at the Ashwood garage.
You’ll also notice that a huge clock tower is floating over the center of Ashwood now. If you shoot that clock tower with the DG-2, it’ll start to glow purple. You can then shoot any of the four clock faces with the Necrofluid Gauntlet to give it a matching purple glow effect. The gauntlet’s purple power will let you complete four more puzzles in each of the map’s major points of interest.
Vandorn Farm puzzle
The easiest of the four easter egg steps at this point is Vandorn Farm, so hop in the truck and drive on over.

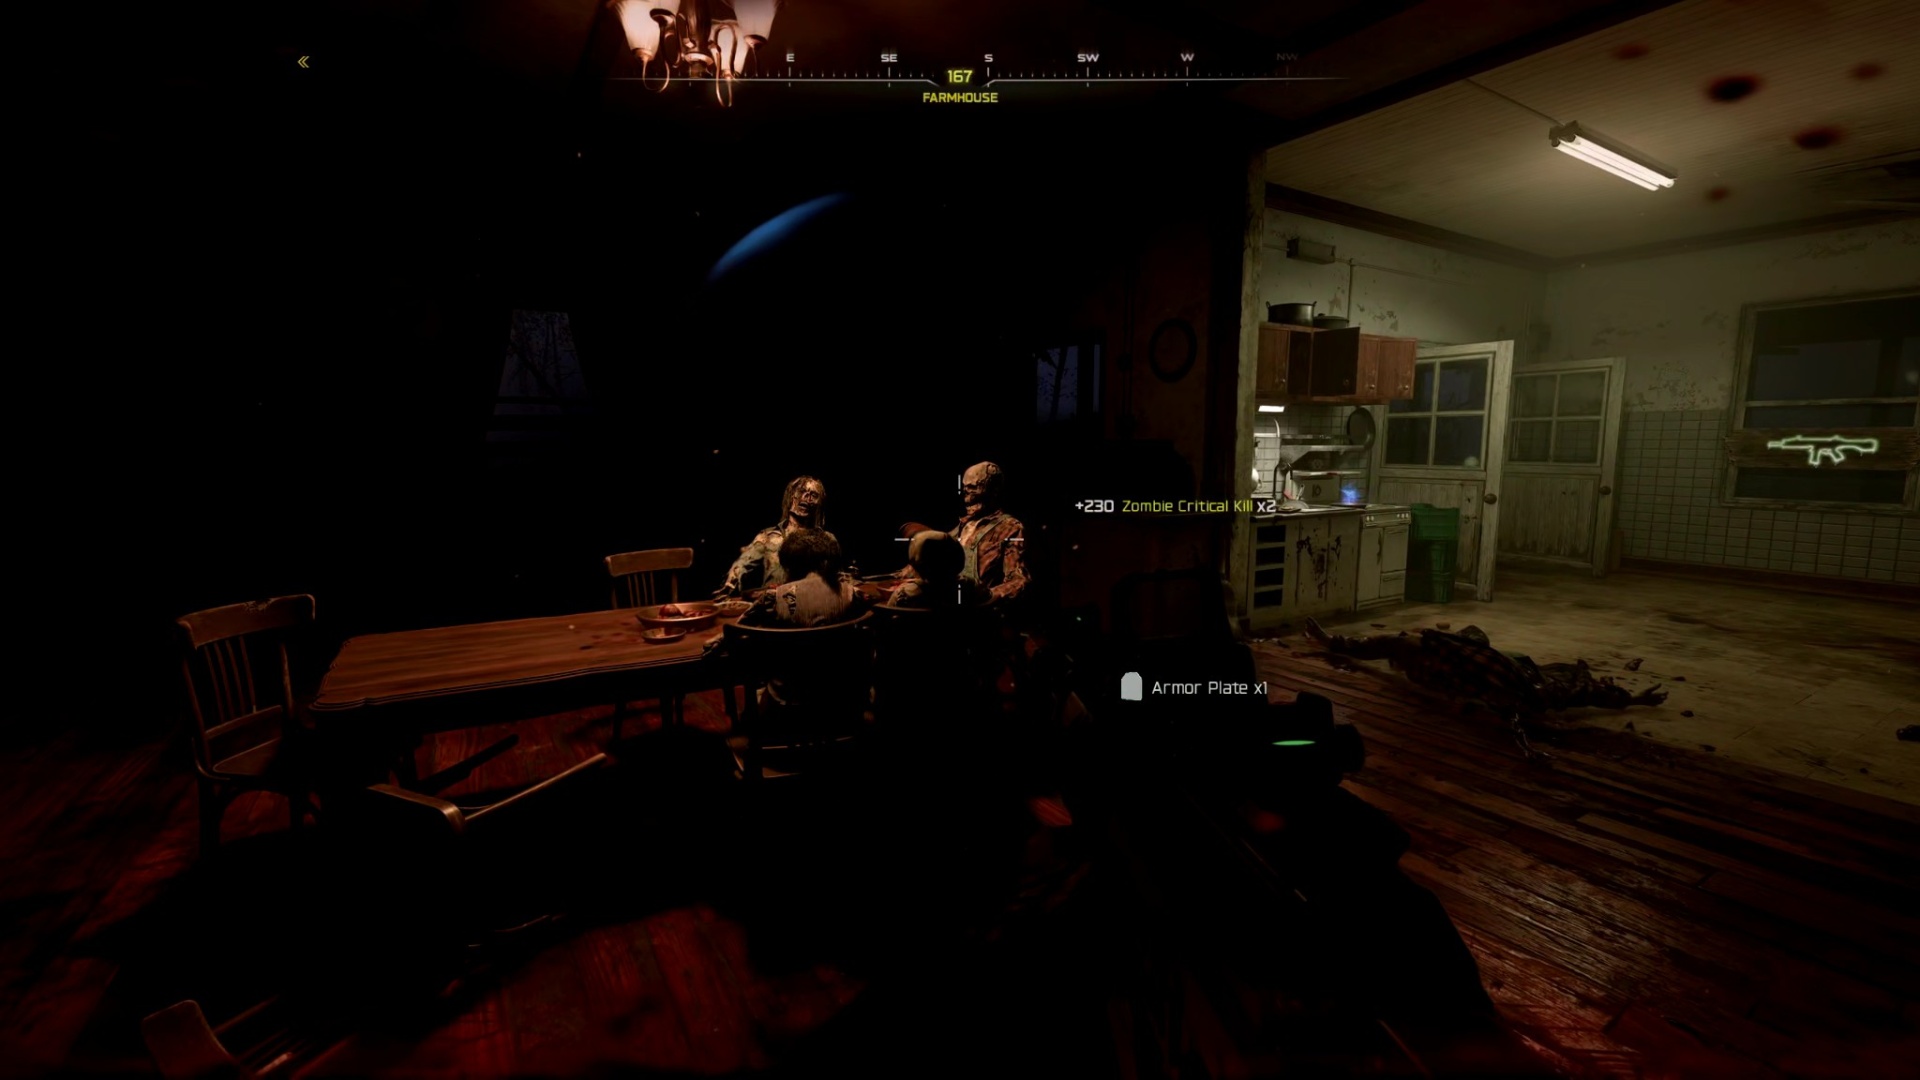
Enter the Farmhouse and look at the clock on the wall above the TV. Make a note of the time, then examine the floorboards surrounding the dinner table.
There are Roman numerals etched into the floor in a clock pattern. Stand on the Roman numeral that matches the time on the clock on the wall. Once you’re standing on the right time, the father’s corpse will turn to look at you. When you see his eyes glow red, shoot him with the Necrofluid Gauntlet.
Next, you need to collect four items around Vandorn Farm.
- Tasty Face teddy bear on the bunk beds on the second floor of the Farmhouse.
- Junior’s Fun-Face mask in the corner of the Barn’s upper floor.
- Ma’s Chalice by the bathtub in the cellar.
- Pa’s Pigticker on the workbench in the Garage.
Once you’ve collected all four items, four red circles will appear outside. Place all four items in their corresponding circle, then defend against the incoming horde of zombies.
How to solve the Exit 115 Puzzle
The next puzzle takes place at Exit 115, but you can only complete it on an even-numbered round. Remember to go and shoot the clock tower in Ashwood if you haven’t already!

To kick things off, climb onto the roof of the Service Station and shoot the big clock with the Necrofluid Gauntlet. This will start a 60-second timer. To complete this puzzle, you have to wake up three special zombies and lead them to one of three colored lightning strikes before the time runs out:
- To summon the trucker zombie, use Ol’ Tessie’s Abomination Beam to attack the red shipping container next to the diner.
- To summon the waitress zombie, melee the cash register inside the diner.
- To summon the mechanic zombie, summon Klaus and order him to stomp the lifted car.

To complete this puzzle, each of these special zombies needs to be led to one of the three lightning strikes around Exit 115.
- The trucker zombie needs to go to the red lightning strike on top of the gas station.
- The waitress zombie needs to go to the purple lightning strike on top of the diner.
- The mechanic zombie needs to go to the yellow lightning strike on top of the service station.

You don’t need to do all three in the same 60-second window. If you run out of time, come back again and repeat the process with the remaining zombies.
How to solve the Zarya Cosmodrome puzzle
Over at Zarya Cosmodrome, you’ll be solving another cipher puzzle. Before you start, use the Necrofluid Gauntlet to shoot the two rapidly-spinning rooftop arrays.

Once the arrays are slowed, head into the Control Room by the Wisp Tea machine. There are two sets of monitors inside. Four monitors on the back wall will repeatedly flash with different numbers, while another pair of monitors flashes between cipher symbols.
To solve the puzzle, you need to figure out what word the cipher monitors are spelling out. Then, you need to stop the number monitors on the numbers that correspond to the letters in that word. For example, 0 is A, 1 is B, 2 is C, 3 is D, and so on.

There are four words that the cipher symbols can spell out. To save you some time, use this conversation key.
Observe the symbol monitors to see which of the four words they’re spelling, then shoot the red buttons on the other monitors to lock in a number. If you get everything right, the rocket outside will launch.
How to solve the Blackwater Lake puzzle
The final section of the easter egg before the boss fight takes place at Blackwater Lake. Go and shoot the Ashwood clock tower to power up your Wonder Weapon, then drive over to the cabin.
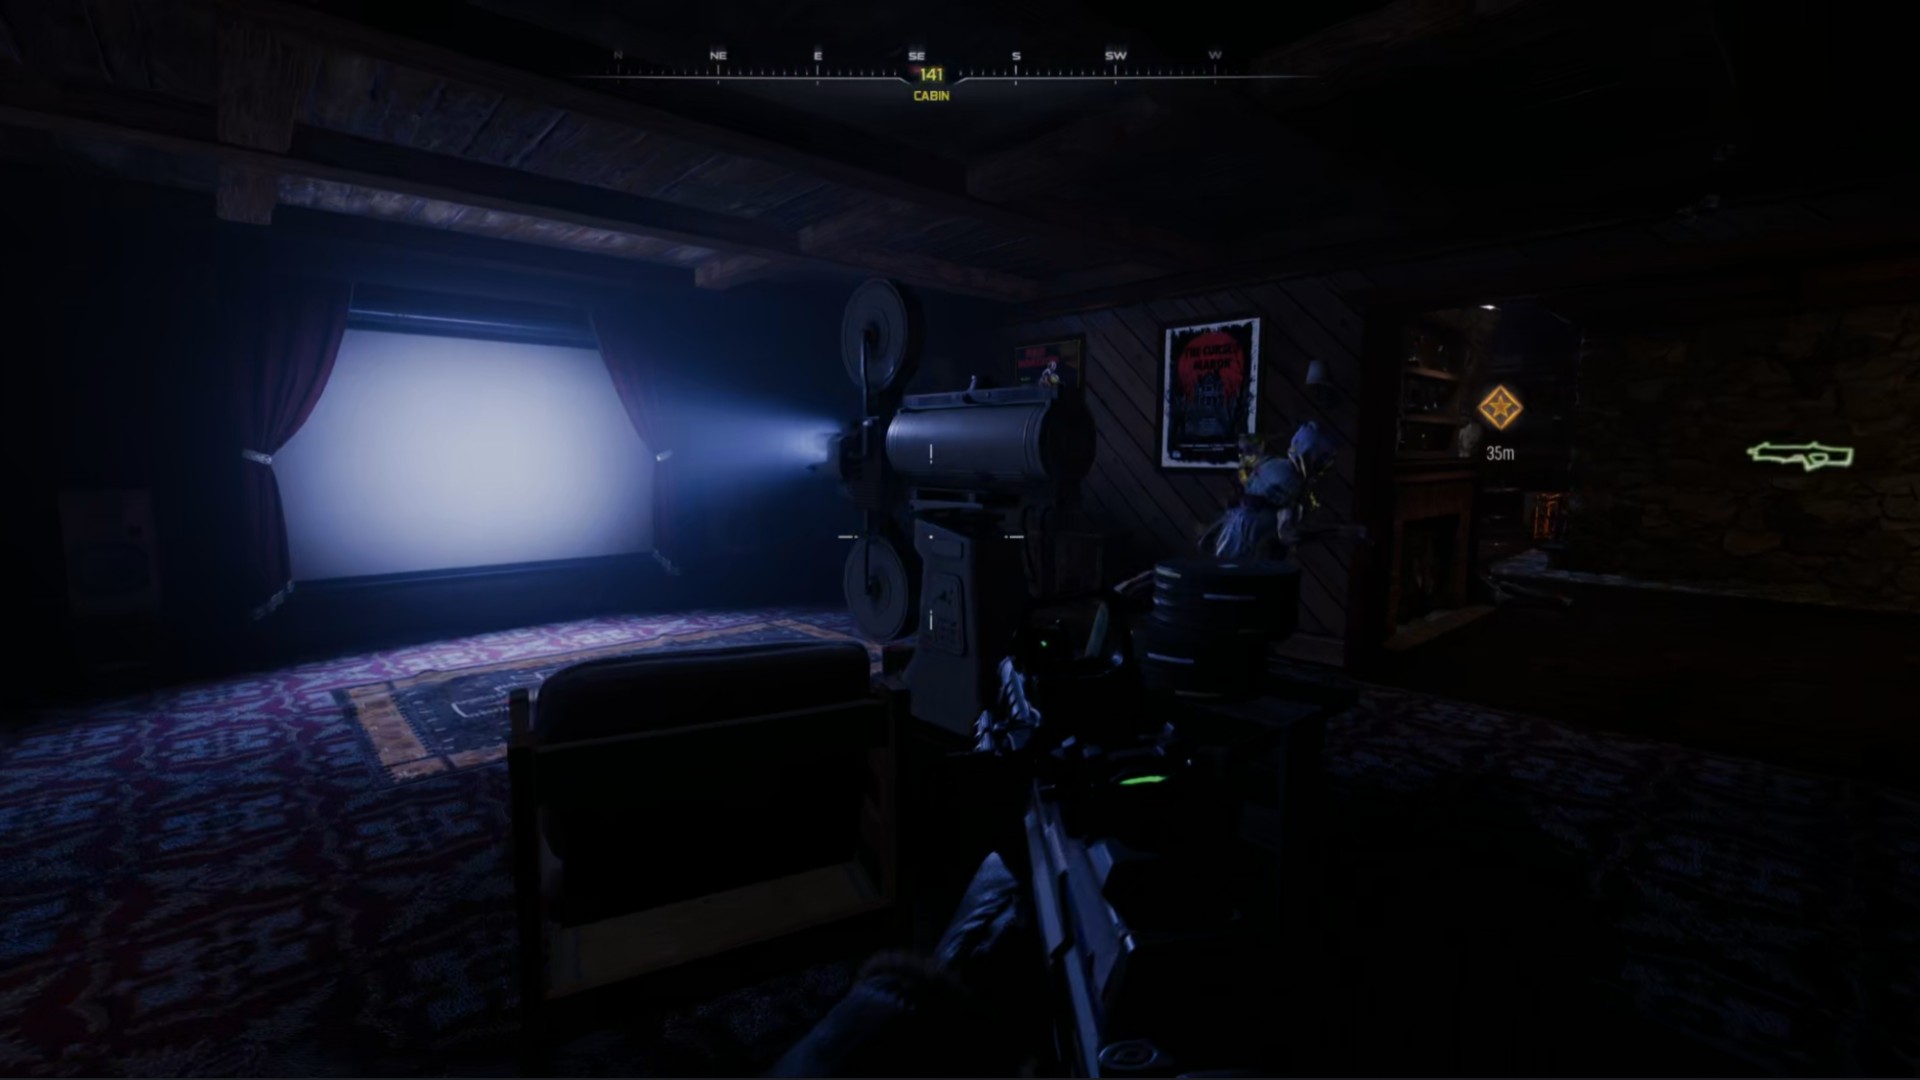
To solve this puzzle, you need to find and shoot four hidden film reels scattered around the cabin area. Start things off by interacting with the wisp on the dock, then go inside and shoot the projector in the cabin’s screening room with the Necrofluid Gauntlet.
The projector will show you the location of four film reels in a random order. You have to find and shoot them in that order, and it’s different every time. If you get the order wrong, the game will reward you with a jump scare.
Cabin Front Film Reel
For the image of the front of the cabin, you can find the film reel on a shelf on the second floor by the power switch.
Cabin Rear Film Reel

For the image of the back of the cabin, you can find the film reel underneath the porch stairs.

For the image of the tool shed, you can find the film reel on a shelf in the side room.
Boat House Film Reel
For the image of the boat house, you can find the film reel in the rafters above you.
Once you’ve shot all four film reels, head up to the bedroom on the second floor of the cabin. Interact with the wisp, then call in Klaus and bring him up to the bedroom. He’ll grab an item from the box by the bed and walk down to the docks.
At this point, you’re at the final stage of the easter egg. You can talk to Klaus at the pier to initiate the Ashes of the Damned final boss.
Final Road Trip
In order to enter the final boss arena, you need to drive around the map one last time with Ol’ Tessie. There are wisps located along the roads between each major point of interest, and you have to collect all of them to teleport to the final boss.
Each road has three wisps to collect. Thankfully, they’re not hidden, but this step is timed, so you’ll have to move quickly unless you want to restart the process in the next round.
There are 12 wisps to grab in total. To get them all:
- Start at Blackwater Lake and drive to Janus Towers Plaza.
- From there, go to Vandorn Farm.
- Then, drive to Ashwood before circling back to Blackwater Lake
Each road has three wisps to collect. Once you’ve grabbed the last one, you’ll be instantly teleported to the boss arena.
How to Beat Veytharion

Veytharion is a massive floating boss that you’ll have to defeat with the help of Ol’ Tessie. It’s hard to pull off solo, but not impossible. Just keep driving and watch out for Zursas and other elite zombies.
Veytharion will constantly bombard you with explosive attacks marked by red circles on the ground. It also has a devastating beam attack that can down you in seconds. Take cover behind the pillars to avoid it.
The boss will also periodically grab Ol’ Tessie and chuck it across the arena like a toy truck. The damage will force you out of the truck, and you’ll have to spend some Salvage to get it up and running again. Decoy grenades or other distractions are a godsend here.
Finally, Veytharion will become invulnerable at certain points during the fight. To break its shield, you have to drive around the arena and collect energy with Ol’ Tessie. Once you’ve collected enough, you can boost off the ramps and slam into Veytharion to weaken it. You can also use the ramps like this throughout the fight to deal big damage as well.

Once Veytharion finally goes down, you’ll have completed the main quest for Ashes of the Damned! Now that you’ve finished the easter egg once, you can use Relics in Cursed mode to make the game even harder.
Read the full article here