SUBSCRIBE
Tech Journal Now
  • Home
  • News
  • AI
  • Reviews
  • Guides
  • Best Buy
  • Software
  • Games
Reading: How to complete the Vessel of the Nine quest in Destiny 2: The Edge of Fate
Share
Tech Journal NowTech Journal Now
Font ResizerAa
  • News
  • Reviews
  • Guides
  • AI
  • Best Buy
  • Games
  • Software
Search
  • Home
  • News
  • AI
  • Reviews
  • Guides
  • Best Buy
  • Software
  • Games
Have an existing account? Sign In
Follow US
© Foxiz News Network. Ruby Design Company. All Rights Reserved.
Tech Journal Now > Games > How to complete the Vessel of the Nine quest in Destiny 2: The Edge of Fate
Games

How to complete the Vessel of the Nine quest in Destiny 2: The Edge of Fate

News Room
Last updated: July 17, 2025 2:39 pm
News Room
Share
4 Min Read
SHARE

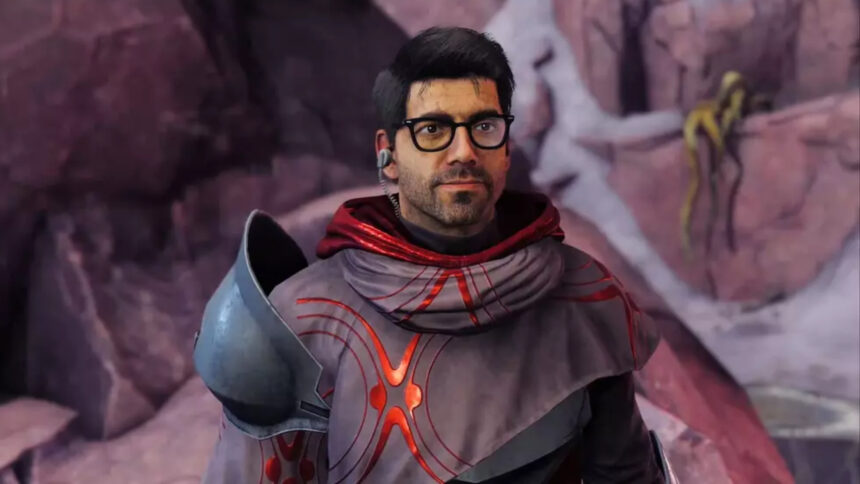
The first side quest you’re likely to run into in Destiny 2: The Edge of Fate, Vessel of the Nine, is all about none other than Lodi and helping him get to grips with his situation. It’s a brilliant story, but the actual quest steps leave a lot to be desired. Specifically, the objective markers seem to be even more broken than usual, causing it to be an unnecessarily confusing quest.

Most of the quest is relatively straightforward, but below, I’ll go over the two main hurdles in Vessel of the Nine: the slime bodies and the final quest step. This is where the markers seem to mess up the most and give you little guidance.

Vessel of the Nine slime body locations

Image 1 of 2

(Image credit: Bungie)

Destiny 2 Vessel of the Nine quest walkthrough: A pile of dead Fallen with green pustules on a rocky cliff.
(Image credit: Bungie)

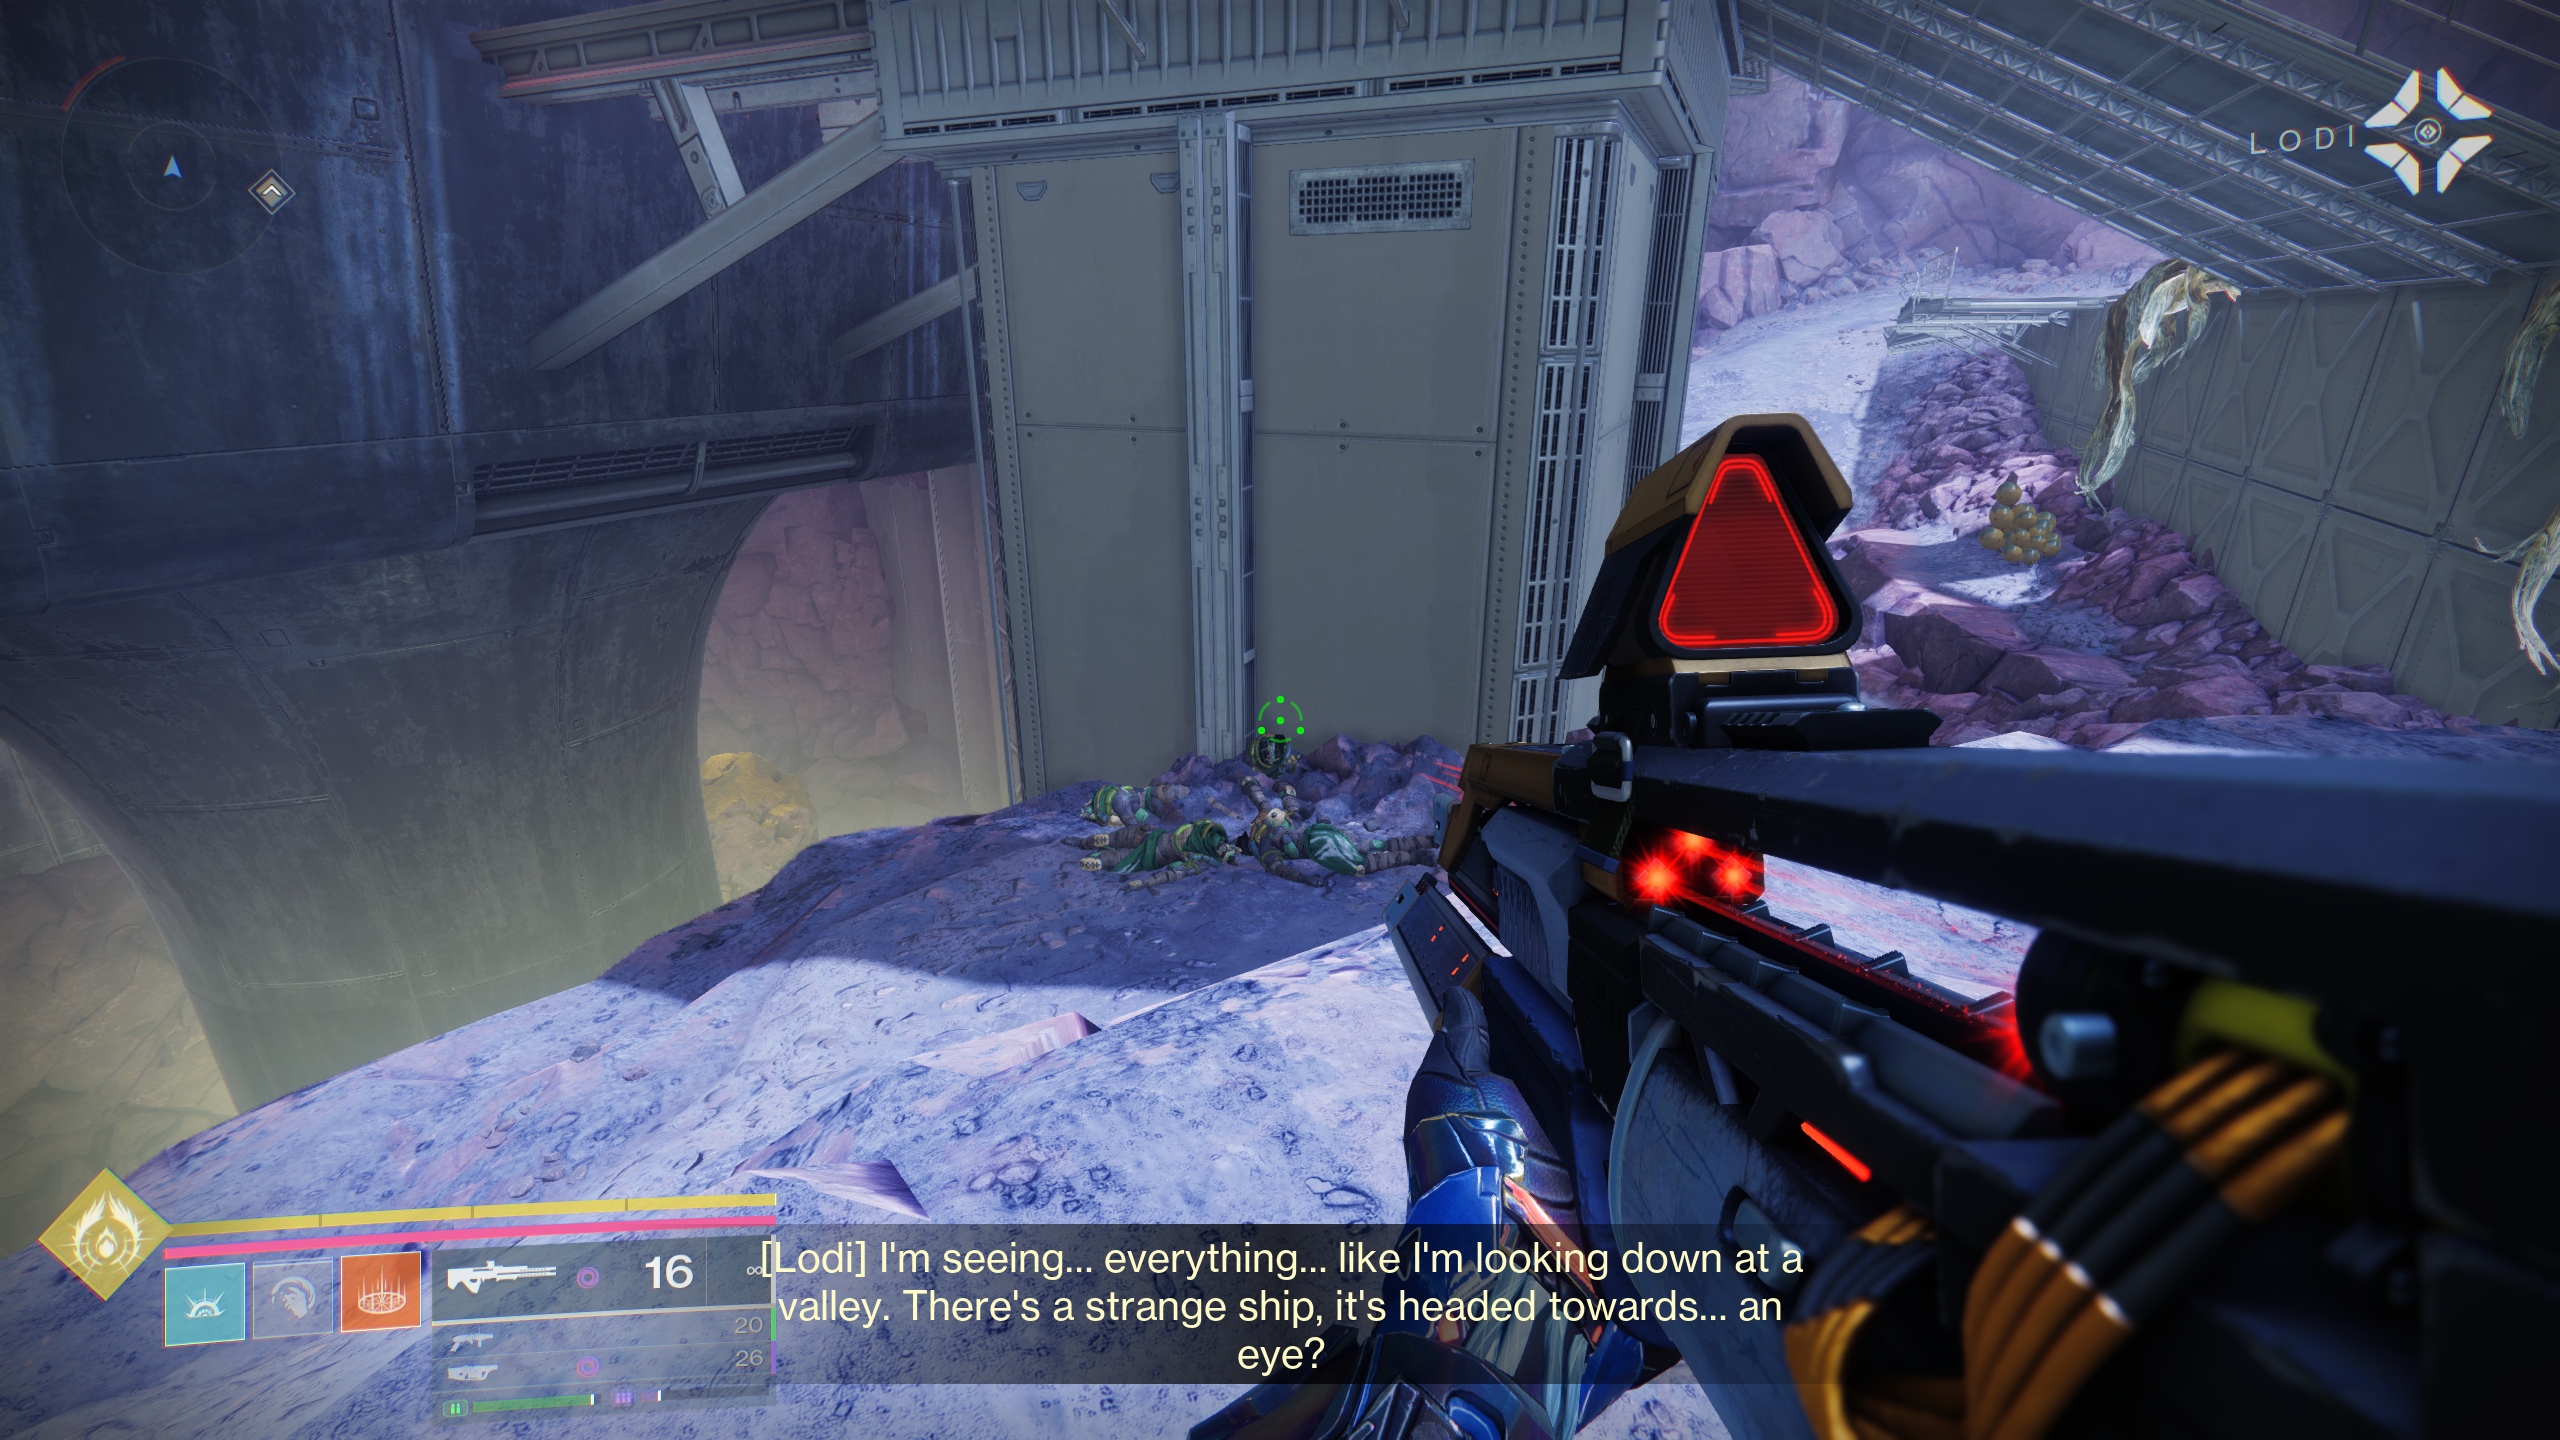
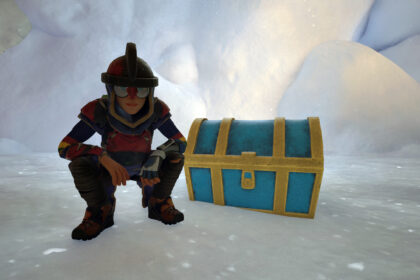
You’ll need to find three slime bodies throughout the Vessel of the Nine quest in order to progress. After collecting Lodi’s journal to begin the quest, and following the waypoint into a courtyard filled with Vex and Fallen, you’ll need to “search for a signature that might indicate Lodi’s presence”, which is actually the first ‘slime body’—or rather, dead Fallen covered in pustules.


Related articles

  • First slime body: The first one is just to the left of the locked circular door, to the left of where you entered the courtyard, tucked between rocks. Interact with it to progress the quest, requiring you to then open the locked door and head inside the facility.
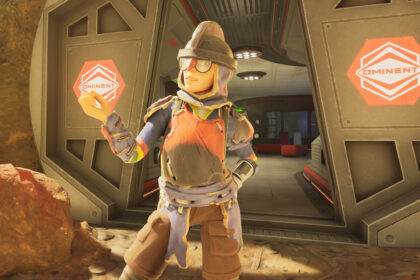
  • Second slime body: Once inside, you’ll need to find the second slime body, which is by a pile of boxes to the left of the room you enter—it’s hard to miss, really. Keep moving forward, fighting through more Vex and opening a locked cave tunnel you’ll have to climb up. Eventually, you’ll reach a large cave-like area with a platform at the centre where several Vex and Fallen are fighting.
  • Third slime body: The final slimy signature in Vessel of the Nine is tucked down the right side of the ramp at the opposite end of the cave, so go straight ahead from where you enter, down the ramp, and turn right to find it on the rocky ledge.

Vessel of the Nine final quest step

Destiny 2 Vessel of the Nine quest walkthrough: An annotated screenshot showing the order you need to jump on broken wall panels at the back of a cave.

(Image credit: Bungie)

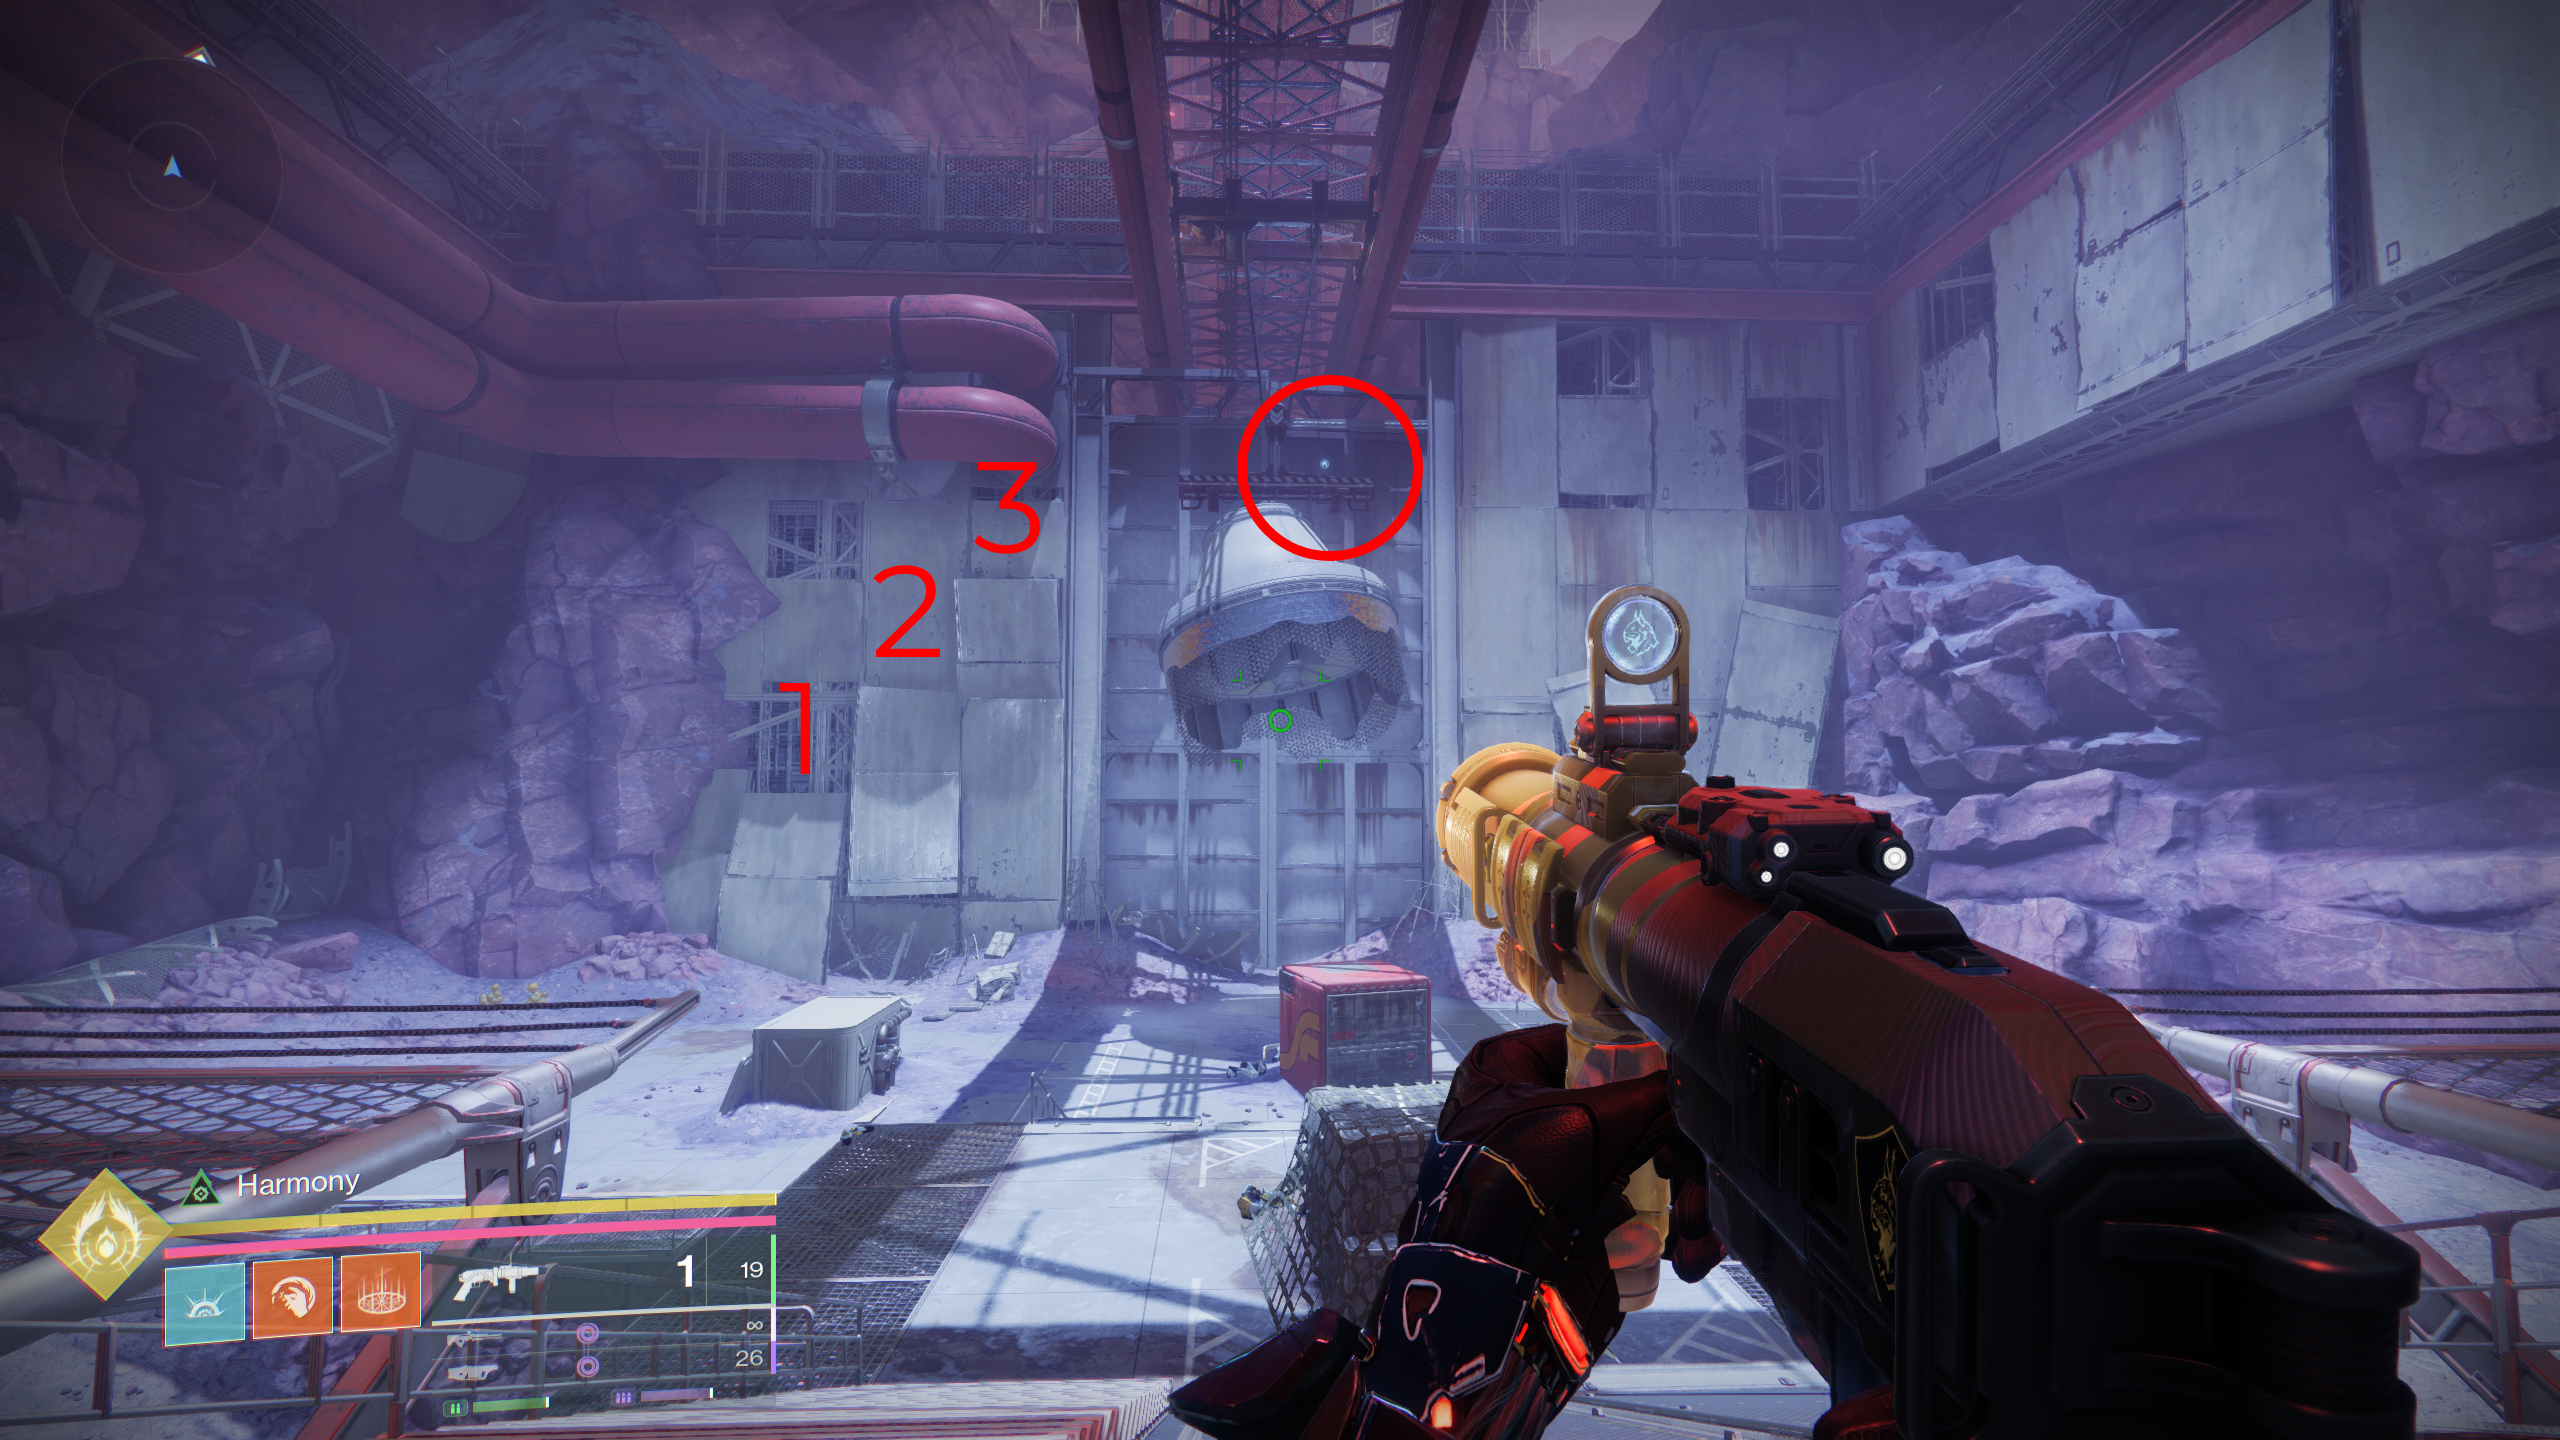
Once you’ve found the final slime body for Lodi, you need to “use the resonance of the energy point to attract the Archon’s attention”. As for what that means, you’re given no leads as the quest marker just points to the ceiling.

What you need to do is climb up the broken wall panels at the back of the room to reach the crane, where you can then interact with the glowing symbol to finish the quest.

For beating Vessel of the Nine, you’ll earn the Sublimation scout rifle and three Fated Ciphers that you can use to focus gear back at the altar.

Read the full article here

You Might Also Like

Space Marine 2 will celebrate its first anniversary with a ‘large-scale update’ in September, and another year of free and paid content is on the way

IO’s James Bond game is called 007 First Light, will be revealed later this week

All GTA Online Smoke on the Water product locations and rewards

Genshin Impact Ineffa materials and kit

This wildly ambitious Yakuza 5 co-op mod lets you play together as Kiryu and Ichiban, even folding Like a Dragon’s protagonist into the game’s cutscenes

Share This Article
Facebook Twitter Email Print
Leave a comment Leave a comment

Leave a Reply Cancel reply

Your email address will not be published. Required fields are marked *

- Advertisement -
Ad image

Trending Stories

Games

Baldur’s Gate 3 fixes Astarion looking like your granddad on Facetime and Dark Urge forgetting they have amnesia with a ‘room temperature fix’

August 2, 2025
Games

How to get and use the Frostbitten Key in Grounded 2

August 2, 2025
Games

Best weapons and armour in Grounded 2

August 2, 2025
Games

How to get Hinomai seeds in Grow a Garden

August 2, 2025
Games

Assassin’s Creed 4: Black Flag actor says Ubisoft threatened to sue him for blabbing about the remake that everyone and their grandma knows is coming

August 2, 2025
Games

One of Elden Ring Nightreign’s returning Dark Souls bosses launches into the stratosphere halfway through the fight to hide that he gets replaced by a second, smaller guy

August 2, 2025

Always Stay Up to Date

Subscribe to our newsletter to get our newest articles instantly!

Follow US on Social Media

Facebook Youtube Steam Twitch Unity

2024 © Prices.com LLC. All Rights Reserved.

Tech Journal Now

Quick Links

  • Privacy Policy
  • Terms of use
  • For Advertisers
  • Contact
Welcome Back!

Sign in to your account

Username or Email Address
Password

Lost your password?